Fix It Like A Pro: 8 Hardwood Floor Repairs Made Simple
Published January 15, 2025
Hardwood floors add warmth, elegance, and timeless charm to your home. However, daily wear and tear, accidents, and environmental factors can lead to damage over time. Knowing how to repair hardwood floors is essential. Proper maintenance keeps them beautiful and functional.
In this article, we’ll cover the importance of hardwood floor repairs and explore simple DIY measures you can take to fix and maintain your floors. Keep your floors looking great for years to come!
Importance of Proper Hardwood Floor Repairs
Caring for hardwood floors goes beyond looks. It helps preserve your home’s value and protects a significant investment. Minor issues like scratches, gaps, or stains can worsen in the long run, leading to costly repairs or replacements.
Proper maintenance and timely repairs keep your home safe. They address issues like warped or buckling boards. Regular care helps your hardwood flooring last for decades. It keeps your floors looking as stunning as when they were installed.
DIY Hardwood Floor Repairs
If you have light to moderate damage, you can make certain hardwood floor repairs yourself.
Here are simple DIY fixes you can tackle independently; no professional help is required.
Refinishing
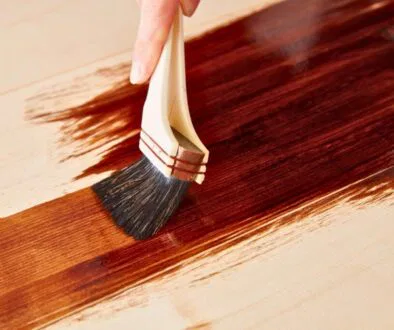
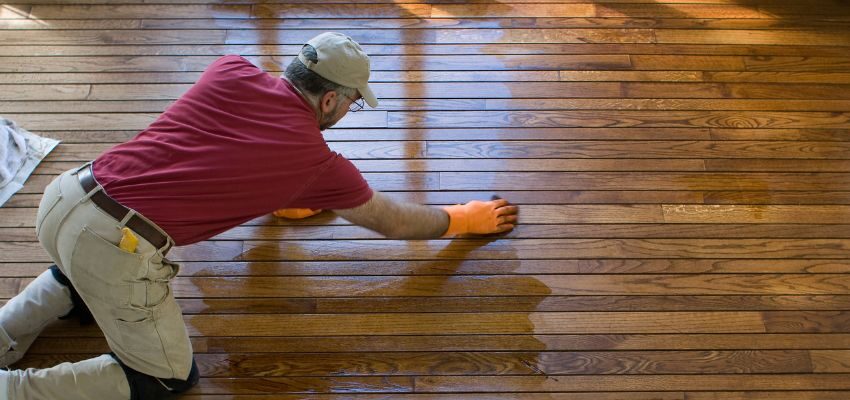
Refinishing is the best option for hardwood floors with widespread wear, fading, or surface damage. The process removes the old, worn finish. The floor is then sanded to create a smooth surface, and a fresh coat of stain or sealant is applied.
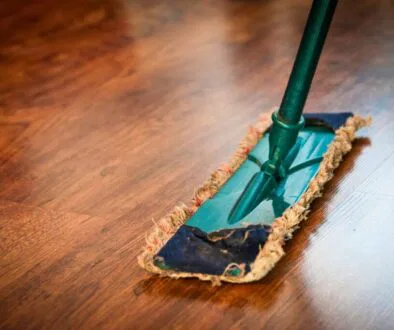
Refinishing takes effort and requires tools like a walk-behind sander. However, the results are worth it. It can completely transform the look of your floors. Before starting, thoroughly clean the floor to remove dirt and dust, ensuring a smooth finish.
Hardwood floor repairs and refinishing is a great way to give your hardwood floors a new lease on life and restore their original charm.
Filling
Deep scratches or dents beyond the surface require filling to prevent further damage. Start by carefully cleaning the area to remove dirt and debris. Next, apply wood filler to the scratch or dent, making sure to choose a filler that matches the color of your flooring.
Utilize a putty knife to smooth the filler and let it dry completely. Once dry, sand the repaired area to level with the surrounding planks. Reapply a finish or stain to blend the fix with the rest of the floor.
Filling these imperfections restores the appearance. It also prevents moisture and debris from worsening the damage over time.
Mending
Surface scratches on hardwood floors can ruin their look. Minor scratches are easy to fix, and simple mending techniques can restore the polish.
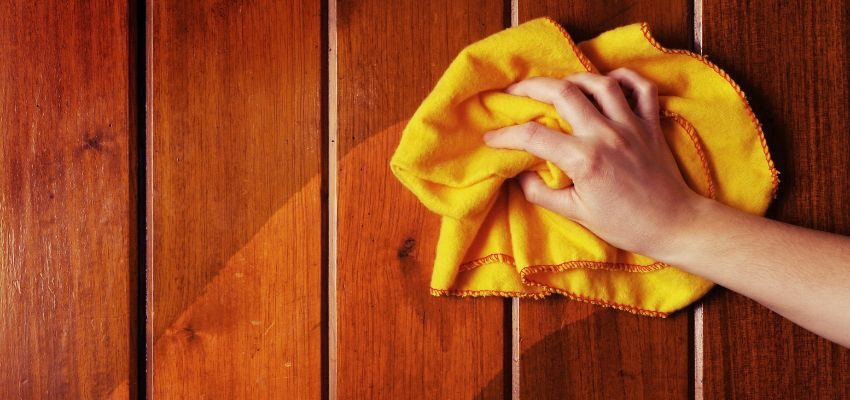
You can opt for natural solutions like vinegar and olive oil to buff out the marks for superficial scratches. Chemical products like finish restorers can help. They fill in scratches and bring back your floor’s glossy look.
Rub the solution onto the scratched area with a soft cloth. This will smooth out imperfections and blend them with the surrounding surface, making your floor look fresh and well-maintained.
Stain Removal
Stains, whether caused by water, pets, or household mishaps, can mar the beauty of your hardwood floor. Gentle buffing or using stain removers can often do the trick for surface-level stains. For deeper stains, sanding may be needed. Refinish the area to remove discoloration entirely.
Before sanding, test gentle cleaning methods to see if the stain can be lifted without needing a more intensive repair. Dealing with stains promptly is crucial, as leaving them untreated can lead to permanent damage or discoloration of the wood.
Buffing And Polishing
Over time, even well-maintained hardwood floors can lose their shine. Buffing and polishing are simple yet effective ways to bring them back to life.
Use a buffer to smooth out minor surface imperfections, scratches, and scuffs. This process evens out the floor and prepares it for a fresh layer of polish, which adds gloss and protection.
Applying a high-quality hardwood polish revives the floor’s luster but also helps protect it from future wear and tear. Regular buffing and polishing are key to keeping your floors looking their best for years.
Leveling
If your hardwood floor creaks or feels uneven, the issue might be caused by loose or improperly secured floorboards. These gaps can lead to annoying squeaks and an unstable feeling underfoot.
Using a shim is an easy and effective fix. Simply slide a shim into the gap beneath the floorboard and gently hammer it into place to secure the board. This will level the floorboard, providing a stable surface and eliminating those squeaky sounds.
If the creaking continues after leveling, there may be a more significant issue. The subfloor could need a professional inspection or repair.
Board Replacement
Sometimes, a single warped or cracked board stands out and needs to be replaced. Luckily, this can be done without disturbing the rest of the floor. Begin by marking the damaged board and carefully removing it using a pry bar or saw.
Be cautious not to damage the surrounding boards during removal. Once the old board is out, insert a new plank that matches the size and style of your flooring. Secure the replacement board with nails or adhesive and apply a compatible stain to ensure the new board blends in perfectly.
Board replacement is a simple fix that can restore the look and functionality of your hardwood floor.
Patching
Patching is the most effective solution for hardwood floors with severely damaged sections. This involves removing the damaged boards and replacing them with new ones.
Use a saw to carefully remove the damaged boards. Remove them without disturbing the nearby planks. Measure and cut new boards to fit, ensuring they match the size, color, and grain of your existing flooring.
Apply adhesive to secure the new planks, and finish them with a stain or sealant to ensure they blend impeccably with the rest of the floor. Patching is a great way to address localized damage without replacing the entire floor.
Frequently Asked Questions
How can I prevent gaps in hardwood floors?
Gaps typically result from temperature and humidity changes. Using a humidifier during winter months and ensuring professional installation can help prevent gaps.
Can uneven floors always be repaired?
Uneven floors caused by installation issues or moisture imbalance can often be fixed by leveling or refinishing. However, professional intervention might be necessary if the subfloor or joists are compromised.
When should I replace the floor instead of repairing it?
Severe moisture damage, like warping or buckling, may require a complete replacement. Structural issues can also make replacement necessary. If the floor has been sanded too much, the planks may be too thin for refinishing.
Are professional repairs better than DIY fixes?
While DIY repairs can address minor issues, professional repair services ensure long-term durability and a flawless appearance. For significant damage, it’s best to call an expert.
How often should I refinish my hardwood floors?
Most hardwood floors can be refinished every 7-10 years, depending on foot traffic and wear. Keeping up with refinishing prevents more profound damage and maintains the floor’s aesthetic appeal.
DIY Hardwood Floor Repairs Made Easy
Maintaining and repairing your hardwood floors is essential to preserving their longevity and charm. If done correctly, DIY hardwood floor repairs, such as leveling, mending, filling, and refinishing, can save you time and money. However, if you have significant damages or are unsure how to proceed, seeking professional help is always smart. By keeping your floors in excellent condition, you enhance the beauty of your home and the comfort of your living space. Beautiful hardwood flooring is more than an investment. It shows your care and attention to detail.
Hire The Timber Experts For Your Next Project
Vintage & Specialty Wood should be your source of the highest quality timbers from around the world. When it comes to fabricating and installing reclaimed wood or specialty wood products in your home, we don’t cut corners. We offer many reclaimed wood and specialty wood products such as Douglas Fir, white oak, and much more. We also offer timber framing and wood flooring services as well. Contact our team today to speak to a timber expert about what Vintage & Specialty Wood can do for you.

This Blog Is Fact Checked
This content has undergone meticulous fact-checking by our team of internal experts. Gain a deeper understanding of the high editorial standards we uphold on our website here.

About The Author
Experience, exploration, and knowledge are the hallmarks of writer Rei Bayucca. Her dedication to crafting articles that both inspire and educate will leave you thinking long after you’ve finished reading.

