Master The Art Of Window Pergolas: A Step-By-Step Guide
Published June 3, 2025
Want to give your home a stunning standout look without a major renovation? A window pergola might be just what you need. This addition frames your windows with elegance. It provides soft shading and boosts curb appeal. Tired of your exterior looking plain and uninspired? The best part is that you don’t need to be a master woodworker to achieve a beautiful transformation.
In this article, we’ll walk you through everything you need to know about window pergolas. Learn what they are, their benefits, and how to plan and design one. We’ll also guide you step-by-step through the process of building your own. By the end, you’ll have the knowledge and confidence to take on this fulfilling DIY project with ease.
What Is A Window Pergola?
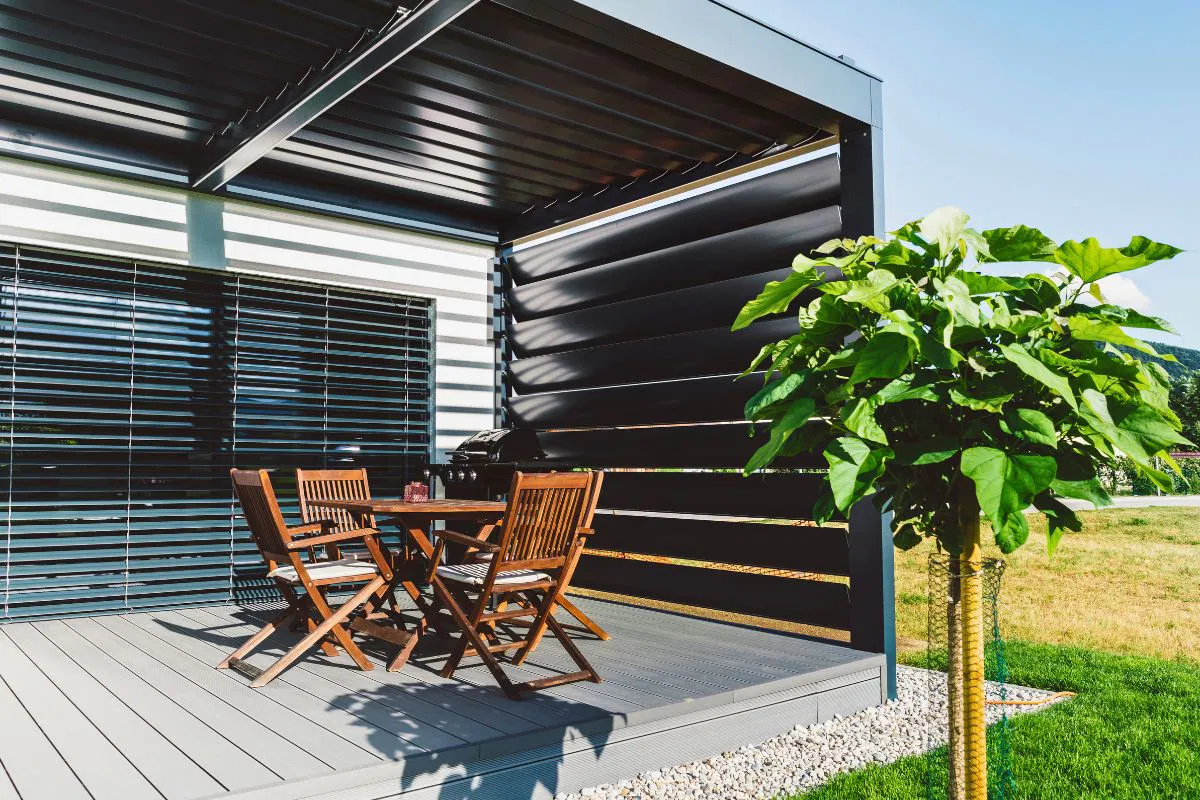
A window pergola, also known as a window arbor or window trellis, is a smaller version of a traditional pergola designed to be mounted above a window. Unlike large outdoor pergolas, they’re compact and enhance the architecture of your home.
These structures include supports, rafters, and slats. They offer both style and function, adding charm and providing shade for windows. They also protect from debris. Unlike traditional pergolas, their primary purpose is aesthetics. It’s an affordable way to boost your home’s curb appeal.
Benefits Of Installing A Window Pergola
Transform your home with the unique charm and practicality of a window pergola. Here’s why it’s a great addition:
- Elevates exterior aesthetics. It serves as a striking architectural element, adding depth, texture, and elegance to an otherwise plain facade. By establishing a focal point, it enhances the overall design and visual appeal.
- Offers shade and protection. Beyond its beauty, a pergola over a window delivers functional benefits. It reduces harsh sunlight and glare, keeping indoor spaces cooler and more comfortable. Additionally, it shields your window frames from rain, debris, and weather-related wear and tear.
- Cost-effective and DIY-friendly. Compared to other home upgrades, a window pergola is affordable and easy to build. With the right materials, basic tools, and a bit of effort, it’s a perfect project for beginners looking to explore DIY woodworking.
Planning Your Window Pergola Project
Proper planning is a key element to a successful window pergola project. From selecting the right materials to estimating costs, here’s everything you need to know to get started on the right foot.
What Type Of Wood Is Best For A Window Pergola?
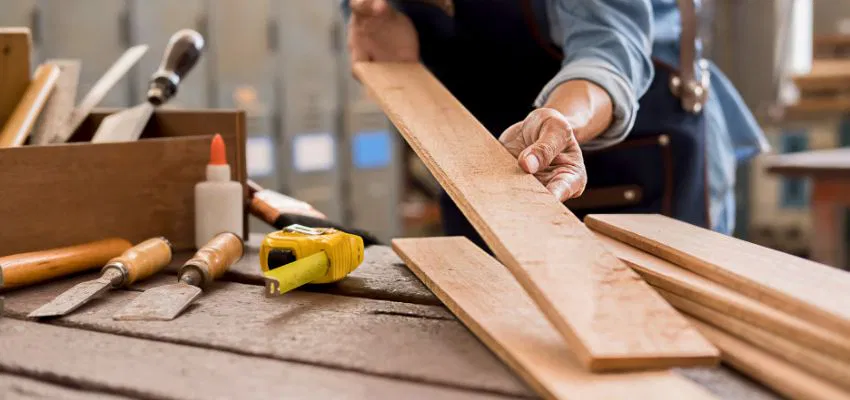
Choosing the appropriate type of wood is crucial for ensuring both durability and visual appeal. Here are some excellent options to consider:
- Cedar and redwood are well-loved options due to their beauty and resistance to insects and decay. Over time, they develop an elegant silvery patina, adding to their charm.
- Pressure-treated pine is a cost-effective option designed to withstand the elements. However, it may need staining or painting to enhance its appearance.
- Premium options, such as oak, maple, or chestnut, provide exceptional durability and a polished, sophisticated look, although they tend to be more expensive.
- For a truly one-of-a-kind aesthetic, consider using reclaimed wood. Vintage & Specialty Wood offers beautifully aged, sustainable lumber that adds character and warmth to your pergola while supporting eco-conscious building practices.
When deciding, consider your budget and local climate. In damp or rainy regions, rot-resistant woods like cedar are particularly well-suited.
How Much Does It Cost To Build A Window Pergola?
The cost of building one depends on factors like materials, tools, and the pergola’s size. Here’s a breakdown to give you a clearer idea:
- Materials: For a wooden pergola, budget around $50 for every 6 feet of length. Smaller windows will generally cost less.
- Tools: If you don’t already own essential tools like saws and drills, you’ll need to factor in an upfront investment for these items.
- Pergola kits: Opting for pre-cut window pergola kits can save you time, but kits typically cost between $100 and $300.
If you’re taking the DIY route, expect total costs to range between $50 and $150 per window, depending on your specific choices and preferences.
Tools And Materials You’ll Need
Essential tools:
- Circular or miter saw
- Jigsaw (for decorative cuts)
- Power drill and drill bits
- Safety gear (gloves, goggles, etc.)
- Measuring tape
- Level (to ensure alignment)
Materials:
- Lumber (2×6, 2×4, 2×2 sizes)
- 3 ½” screws and 2 ½” screws
- Sandpaper (150 grit)
- Optional wood stain, paint, or sealant
Glossary Of Terms
Before you begin, take a moment to familiarize yourself with these key terms:
- Back Support: The upright wooden piece is secured to the wall, providing foundational stability.
- Horizontal Support: A wooden beam extending outward from the back support, designed to hold the rafters.
- Diagonal Brace: A wooden piece positioned at a 45° angle, connecting the back and horizontal supports to enhance stability.
- Rafters: Horizontal beams spanning across the top of the structure, serving as the framework.
- Slats: Vertical wooden pieces laid across the rafters, often spaced apart to add decorative appeal.
Step-By-Step Guide To Building A Window Pergola
A window pergola is a stylish and functional addition that enhances your home’s exterior while providing a touch of charm and shade. Creating one is easier than you think! Follow this straightforward step-by-step guide to build a beautiful pergola that enhances your outdoor space.
Step 1: Cut And Prepare The Supports
Start by cutting four pieces of 2×6 lumber, each measuring 24 inches in length. Two of these will function as back supports that mount directly to the wall, while the other two will act as horizontal supports extending outward.
For a decorative touch, use a jigsaw to carve ornamental designs into one end of each board, keeping the opposite end flat for easy mounting. After cutting, sand all surfaces with 150-grit sandpaper to achieve a smooth, polished finish that’s ready for painting.
Step 2: Assemble The Main Frame
Start by placing a horizontal support at the top center of a back support to create an L-shaped frame. Drill a pilot hole through the back support and into the horizontal piece to prevent the wood from splitting during assembly.
Once correctly aligned, fasten the pieces securely with a 3 ½” screw. Repeat this process for the second set of boards, making sure both frames are identical and perfectly square.
Step 3: Add Diagonal Braces For Stability
Cut two 22-inch pieces of 2×4 lumber to serve as diagonal braces, ensuring they provide added structural support. Smooth the surfaces by sanding, then cut both ends of each board at a 45° angle. These braces will connect the lower center of the back support to the horizontal support, positioned a few inches from the outer edge.
Arrange the braces to form a sturdy triangular framework, then drill pilot holes at both ends of the framework. Secure the braces firmly in place with 2 ½” screws, ensuring a solid and reliable connection.
Step 4: Mount The Frame Above Your Window
Once both side frames are assembled, position them against the wall, ensuring the back supports rest snugly on either side of the window. The horizontal supports should align just above the top edge of the window frame.
Use a level to confirm the frames are perfectly aligned. When satisfied with the placement, drill pilot holes through the back supports into the wall, then secure the frames firmly with 3 ½” screws.
Step 5: Measure And Install Rafters
Measure the distance between the two installed frames to determine the required length for the rafters. Cut two 2×6 lumber pieces to this length, leaving an additional overhang on both sides for a decorative touch. If desired, use a jigsaw to create custom detailing on the ends for added visual appeal.
Sand the rafters until smooth. Position them on top of the horizontal supports. Make sure the overhang is even on both sides. Drill pilot holes into the rafters from beneath the horizontal supports. Secure them firmly with 3 ½” screws.
Step 6: Cut And Attach The Slats
Cut 2×2 lumber slats, 24 inches long, to fit the width of the horizontal supports. The number of slats depends on your rafter length and desired spacing. A 5-inch gap between slats is usually recommended.
Sand each slat for a smooth finish, and if desired, add decorative cuts to one end for a touch of style. Position the slats perpendicular to the rafters, ensuring both ends rest securely on top of the rafters. Drill pilot holes at each end of every slat, then fasten them in place using 2 ½” screws.
Step 7: Finish With Paint Or Stain
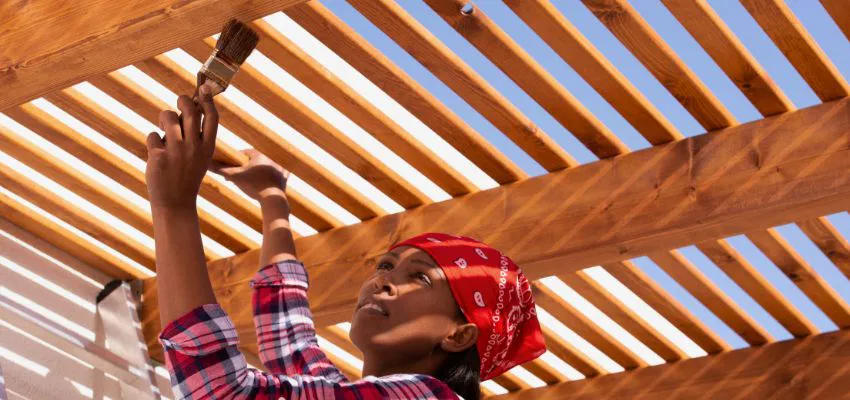
The final step for your pergola is adding a protective finish. Use a high-quality, weather-resistant paint, stain, or sealant. This will protect the wood from sun, rain, and moisture. It also enhances its natural beauty. A good finish keeps your pergola durable and looking great for years to come.
Design Tips And Customization Ideas
Elevate your home’s outdoor appeal with these creative window pergola ideas:
- Paint or Stain: Coordinate with your home’s trim for a seamless, polished look, or opt for a striking color to create a bold contrast.
- Greenery: Incorporate climbing plants, such as ivy or flowering vines, to infuse your pergola with a touch of nature and charm.
- Lighting: Add string lights or lanterns to transform your pergola into a warm, inviting space for evenings.
- Scale: Customize the size to complement various window styles, from compact bathroom windows to expansive bay windows.
Frequently Asked Questions
Do I need a permit to build a pergola over a window?
In most cases, small projects, such as window pergolas, don’t require permits. However, it’s always a good idea to check your local building codes to ensure compliance.
Can a window pergola be attached to any type of wall?
Yes, you can attach one to walls made of brick, stucco, or wood. Use the correct screws and anchors to ensure a secure and stable installation.
How do I maintain a window pergola?
To keep your pergola in great shape, remove debris regularly, repaint or reseal it every few years, and inspect it periodically for signs of wear or damage.
Bring Your Window Pergola Vision To Life—One Step At A Time
A window pergola is a beautiful way to blend charm with functionality, enhancing your home’s exterior with ease. With a thoughtful plan, basic tools, and a dash of creativity, you can turn any window into a stunning architectural feature. Whether it’s a standalone project or part of a larger renovation, a pergola adds both accessibility and style to your space. So, gather your tools and bring this rewarding, eye-catching upgrade to life!
Elevate your DIY project with premium reclaimed wood from Vintage & Specialty Wood. Their stunning, sustainable lumber adds history, character, and lasting quality to every build. Whether you’re going for rustic charm or timeless elegance, find your perfect materials and start creating something beautiful today!
Hire The Timber Experts For Your Next Project
Vintage & Specialty Wood should be your source of the highest quality timbers from around the world. When it comes to fabricating and installing reclaimed wood or specialty wood products in your home, we don’t cut corners. We offer many reclaimed wood and specialty wood products such as Douglas Fir, white oak, and much more. We also offer timber framing and wood flooring services as well. Contact our team today to speak to a timber expert about what Vintage & Specialty Wood can do for you.

This Blog Is Fact Checked
This content has undergone meticulous fact-checking by our team of internal experts. Gain a deeper understanding of the high editorial standards we uphold on our website here.

About The Author
Experience, exploration, and knowledge are the hallmarks of writer Rei Bayucca. Her dedication to crafting articles that both inspire and educate will leave you thinking long after you’ve finished reading.

