DIY Outdoor Fireplace: The Ultimate Backyard Upgrade
Published Sept. 3, 2025
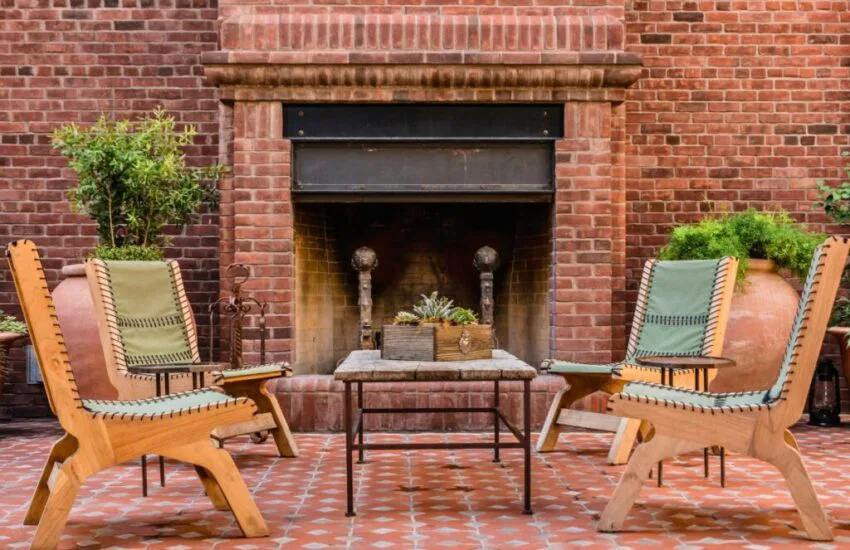
A crackling fire under the stars is unmatched. Warmth on your face, the glow of flames, and late-night conversations make each moment memorable. Without the right setup, backyard gatherings feel incomplete. A DIY outdoor fireplace creates a centerpiece for year-round entertainment and increases your home’s value. Ready to refresh your outdoor space?
Whether you’re a DIY pro or tackling your first outdoor project, this article has you covered. From planning and acquiring permits to the final touches, we’ll guide you step-by-step to create a safe and functional outdoor fireplace.
Why Build A DIY Outdoor Fireplace?
An outdoor fireplace isn’t just for warmth—it brings people together and turns your yard into a cozy retreat with options for gatherings or cooking.
- Create the perfect gathering spot. An outdoor fireplace extends backyard use into cooler seasons, creating a cozy ambiance and inviting space for relaxing with loved ones.
- Versatility beyond warmth. Modern outdoor fireplaces function as centers for gatherings and outdoor cooking. Built-in grates or pizza oven attachments enable grilling, roasting, or baking—perfect for anything from quick dinners to lively weekends.
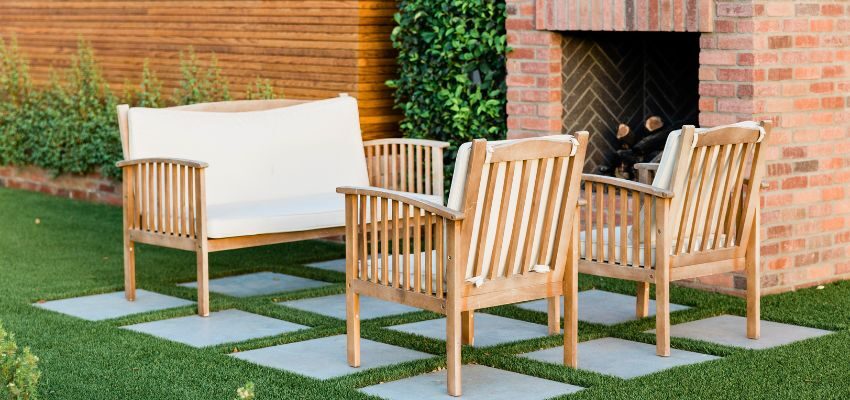
DIY Vs. Prefabricated: What Should You Choose?
Store-Bought Kit Advantages
Prefabricated fireplace kits provide a quick and convenient solution for homeowners. With clear instructions and pre-cut components, assembly can usually be done in a weekend. They also simplify the process by reducing the number of decisions needed around materials and proportions.
However, these kits come with limited customization options. Sizes, styles, and features are predetermined, which may work well for some but feel too restrictive for those with a specific vision in mind.
Custom DIY Build Benefits
A custom DIY build allows you to personalize every aspect of your fireplace—from its dimensions to material choices—so it matches your backyard design and functional needs. Custom builds let you integrate unique features, such as seating, storage, or special cooking components. Although these require more planning, the result is a personalized addition tailored to your home.
Planning Essentials For Your DIY Outdoor Fireplace
Building a DIY outdoor fireplace can transform your backyard into a cozy gathering spot, but proper planning is key. From selecting the location and fuel type to ensuring safety, here’s how to create the perfect outdoor fireplace.
Location And Safety Considerations
Location is key for safety and functionality. Place your fireplace at least 10 meters (33 feet) from your house and other structures to prevent heat damage and flying sparks.
Check local building codes before starting. Many areas require permits for outdoor fireplaces, especially permanent ones with chimneys. Some regions restrict open wood burning due to fire risks. Others limit it because of air quality concerns. Contact your local building department early.
Consider wind direction to ensure smoke blows away from your house and seating. If using a gas fireplace, think about utility access and nearby water sources for safety.
Sizing And Proportions
Right-sizing creates a fireplace that looks balanced and operates efficiently in your available space. Standard fireboxes measure about 2 feet deep and 3 feet wide, with chimney heights from 4 to 15 feet.
The chimney size should be 10-15% of the firebox opening to ensure proper draft, prevent smoke issues, and allow efficient burning. Think about your usual gathering size when planning. A larger firebox adds warmth and ambiance for big groups, while a smaller one feels cozier and uses less fuel.
Fuel-Type Selection
- Wood-burning fireplaces. Wood-burning fireplaces exude a warm and inviting ambiance, complete with the soothing crackle of flames and the rich, natural aroma of burning wood. They’re also the most affordable fuel option. However, they take effort—chopping wood, storing it, lighting fires, and cleaning ash and the chimney regularly to ensure safety and efficiency.
- Gas fireplaces. Gas fireplaces offer instant warmth at the flip of a switch, burning cleaner than wood and requiring little maintenance. Installing a gas line can be pricey if one isn’t already in place, and the risk of leaks makes professional installation essential.
- Electric fireplaces. Electric fireplaces are safe and convenient to use, with no fire risk. They don’t require fuel storage, chimney cleaning, or complex installation. However, they depend on a steady power supply and may lack the ambiance of wood or gas fireplaces.
Materials And Components You’ll Need
Tools Needed For Building An Outdoor Fireplace
Before you begin, gather all the necessary tools to streamline the building process. Essential tools include:
- Shovels (for excavation and site preparation)
- Dead-blow or rubber mallet (for masonry work)
- Construction hammer
- Levels (to ensure straight and stable construction)
- Large carpenter’s square (for precise angles)
- Masonry trowels (for spreading mortar)
- Caulk gun (for adhesives and sealants)
- Measuring tape
- Buckets or mixing tubs (for mortar and concrete)
- Ladders (for reaching higher areas, especially on the chimney)
Having these tools in advance makes your fireplace project smoother, safer, and more efficient.
Fire-Resistant Construction Materials
Proper materials are essential for safety. Use fire bricks for the firebox; regular bricks or concrete blocks can’t withstand direct flame. For exteriors, pick heat-tolerant stones, bricks, or blocks, with fire-rated mortar at heat-exposed joints.
Essential Structural Components
The foundation is the thick, flat base that supports the entire fireplace. It needs to be made of a 4-inch thick slab—a solid, flat layer—of reinforced concrete, which helps prevent the fireplace from tilting or cracking over time. To make the foundation stronger, reinforce it with steel mesh or rebar (steel rods).
The firebox is the main chamber where you build and contain the fire. It should be made of steel or fire-brick, both materials designed to handle very high temperatures. Above the opening of the firebox, you’ll need a lintel—a horizontal support piece, typically made from steel, stone, or reinforced concrete. The lintel helps hold up the structure above the firebox and supports the chimney.
Chimney System Requirements
A proper chimney system uses several components to vent smoke and heat safely. The smoke chamber, or the area above the firebox, narrows and directs smoke into the flue—a pipe or duct (often stainless steel) that channels smoke upward. The chimney itself, which is the vertical structure allowing smoke to escape outside, must be at least 2 feet taller than anything within 10 feet to ensure smoke rises safely and doesn’t blow back.
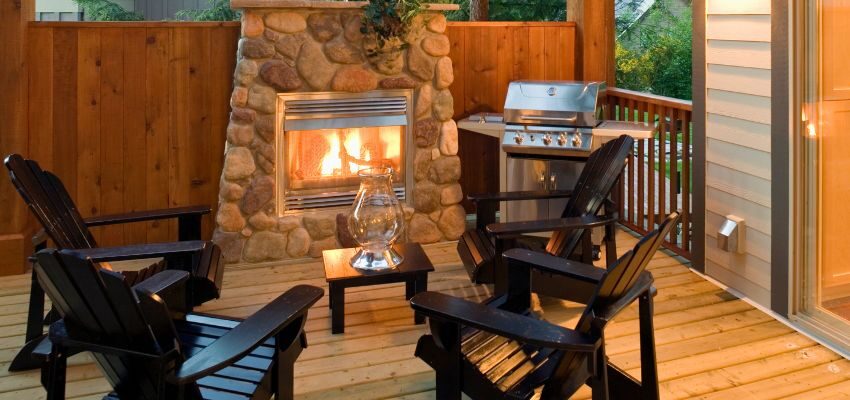
Step-By-Step Construction Process
Step 1: Design And Planning
Begin by sketching your fireplace design, incorporating dimensions and material preferences. Determine its primary purpose—will it serve purely for ambiance, offer cooking functionality, or both? This choice will guide the required size and additional features.
Next, choose a fuel type based on local rules, available utilities, and your preferences. Prepare a detailed list of materials and establish a clear project timeline to ensure everything runs smoothly.
Step 2: Tool Preparation
Before beginning construction, gather all the essential tools to ensure a smooth and efficient process. Key items include shovels, a dead-blow hammer, levels, and trowels. Use a large square for accuracy, caulk guns for sealant, and ladders for safe chimney work. Preparedness prevents delays and keeps your project on track.
Step 3: Site Preparation
Outline the footprint of your fireplace using spray paint or stakes and string. Excavate the area to a depth of 6 inches beyond the thickness of your foundation and extend 6 inches wider than the final dimensions on all sides.
Ensure the excavated area is perfectly level, as an uneven foundation can lead to structural issues down the line. Compact the soil thoroughly to prevent any future settling.
Step 4: Foundation Installation
Pour and level the concrete foundation, ensuring it’s perfectly square and even. For stability, the foundation should extend at least 6 inches beyond the fireplace footprint on all sides.
If you opt for foundation blocks instead of poured concrete, lay them with minimal mortar gaps and regularly check for levelness. Be sure to create any required openings for gas lines or electrical conduits during this stage.
Step 5: Firebox Construction
Construct your firebox walls with fire bricks and fire-rated mortar, ensuring thin, uniform mortar joints to maximize heat resistance. Place the lintel securely across the top of the firebox opening, making sure it’s level and properly supported.
For the firebox floor, create a slight slope toward the front to prevent water pooling and enhance drainage. If you want convenient cleaning, consider adding a small ash dump—a dedicated opening in the firebox floor that allows ash to fall into a container below for easy removal.
Step 6: Smoke Chamber And Chimney
Construct the smoke chamber above the firebox, tapering it gradually to align with the flue diameter. Ensure a smooth transition to minimize turbulence and prevent unwanted smoke.
As you build the chimney, keep it straight and perfectly plumb, checking the alignment regularly. Install the flue liner section by section, making sure every connection is secure and properly fitted. For the exterior, choose decorative masonry that adds both function and style.
Step 7: Safety Testing And Inspection
Before lighting your first fire, carefully inspect all joints for any gaps or cracks. Seal any openings using fire-rated caulk or mortar to ensure a safe and secure setup. To check airflow, burn a piece of newspaper in the firebox—smoke should flow up the chimney without entering the room.
For peace of mind, have your fireplace inspected by a professional, especially if required by local requirements. This ensures it complies with safety standards and is working efficiently and safely.
Step 8: Finishing Touches
Enhance your outdoor space with finishes like stone veneer, stucco, or decorative tile to blend your fireplace with the landscape. Add features like mantels, tool storage, or built-in seating for style and convenience. A reclaimed wood mantel from Vintage & Specialty Wood makes a durable, timeless focal point.
Finish the area with thoughtful landscaping, ensuring plants are situated at a safe distance to prevent heat damage. Maximize your fireplace by adding permanent seating or a patio, turning it into a cozy gathering spot.
Frequently Asked Questions
What are the main safety concerns?
Outdoor fireplaces must prioritize fire safety with proper materials, clearances, and compliance with local fire rules. Regular maintenance, like annual chimney cleaning and inspections, helps prevent hazards.
How far should my fireplace be from my house?
Experts recommend placing fireplaces 10–60 feet from structures, depending on safety needs and local codes. Consider wind, vegetation, and property lines when choosing placement, balancing safety and warmth for your space.
Do I need building permits?
Permanent outdoor fireplaces often need permits, including plans, inspections, and safety approvals. Portable units might not need permits, but it’s important to check local regulations. Permits add cost and time but ensure safety and prevent future issues.
How do I maintain my fireplace?
Maintain your fireplace by removing ash after each use, cleaning the chimney annually, and checking for cracks or damage. Keep rain caps and spark arrestors clean, seal masonry every few years, and cover the fireplace when not in use.
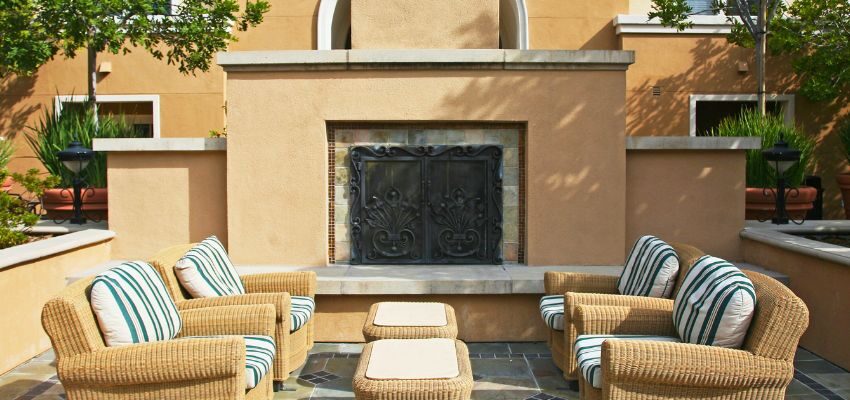
Bring Warmth, Style, And Lasting Memories With Your DIY Outdoor Fireplace
Building a DIY outdoor fireplace is a rewarding project that improves your outdoor space and creates a cozy gathering spot. With proper planning, quality materials, and a focus on safety, you can create a functional, beautiful addition to your home. Whether you opt for a wood-burning or gas-powered design, your fireplace will bring warmth and lasting memories for years. Start planning today, take action on your dream retreat, and consult professionals if needed—your perfect backyard awaits!
Take your outdoor project to the next level—start building your DIY outdoor fireplace today! Transform your space with charm and sustainability by incorporating reclaimed wood from Vintage & Specialty Wood. Visit their collection now and begin creating a unique, memorable gathering spot for years to come.
Hire The Timber Experts For Your Next Project
Vintage & Specialty Wood should be your source of the highest quality timbers from around the world. When it comes to fabricating and installing reclaimed wood or specialty wood products in your home, we don’t cut corners. We offer many reclaimed wood and specialty wood products such as Douglas Fir, white oak, and much more. We also offer timber framing and wood flooring services as well. Contact our team today to speak to a timber expert about what Vintage & Specialty Wood can do for you.

This Blog Is Fact Checked
This content has undergone meticulous fact-checking by our team of internal experts. Gain a deeper understanding of the high editorial standards we uphold on our website here.

About The Author
Experience, exploration, and knowledge are the hallmarks of writer Rei Bayucca. Her dedication to crafting articles that both inspire and educate will leave you thinking long after you’ve finished reading.

