Sanding Drywall With An Electric Sander: A Complete Guide

Published July 9, 2025
Having trouble achieving a flawless, professional finish on your walls? Sanding drywall with an electric sander might just be the game-changer you need. It’s a robust tool that can save you time and effort, but it requires proper usage to be effective. Whether you’re a seasoned pro or tackling a DIY project, mastering this tool can make all the difference in creating flawless results.
In this article, we’ll explore practical tips and safety advice on sanding drywall with electric sander. Learn expert techniques to achieve smooth, flawless walls with ease.
Why Choose An Electric Sander For Drywall?
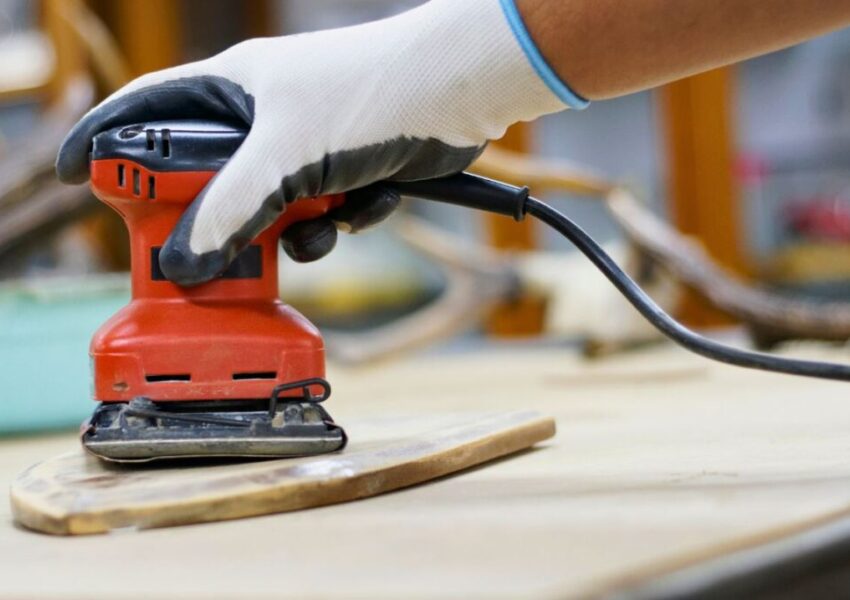
Sanding drywall is often a messy and labor-intensive task, but electric sanders revolutionize the process. They make sanding faster, easier, and cleaner while delivering smooth, professional results. Here’s why electric sanders are the ultimate tool for drywall projects.
Advantages Over Manual Sanding
While manual sanding can handle small drywall tasks, electric sanders are a game-changer. With motorized action, they make smoothing drywall faster, easier, and more efficiently, delivering a flawless finish with minimal effort.
Traditional sanding blocks can leave streaks and inconsistencies. Electric sanders deliver smooth, even results. They also reduce physical strain. The best part? You get a professional finish in less time.
Superior Dust Control
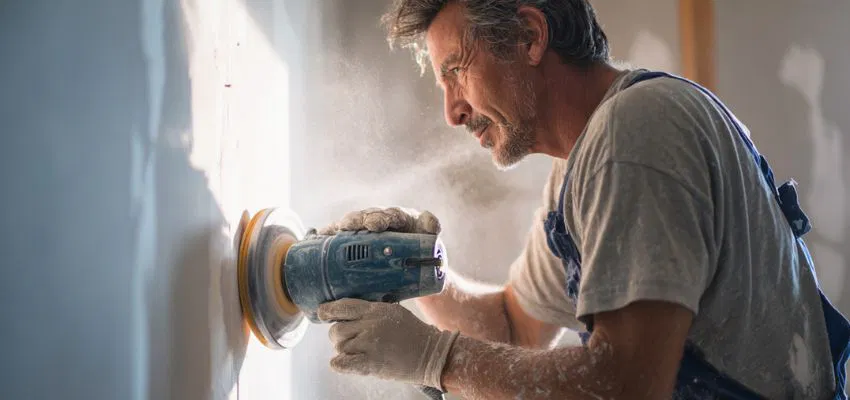
One of the biggest challenges of drywall sanding is managing the inevitable dust. Fortunately, many modern electric sanders are equipped with vacuum attachments to combat this issue.
These attachments capture dust and debris efficiently. They reduce airborne particles and keep your workspace cleaner. This is especially useful for large projects where dust builds up quickly.

How To Prepare For Sanding Drywall
- Seal off nearby rooms with plastic sheeting. Drywall dust has a way of traveling far beyond your workspace. To keep it contained, seal doorways, vents, and any openings with plastic sheeting. Secure the edges firmly with tape to create an airtight barrier and prevent dust from spreading to other areas of your home.
- Protect your floors with drop cloths. Cover your floors with drop cloths or lightweight tarps to catch falling dust and protect surfaces from damage. Make sure the coverings are adequately secured to prevent tripping or slipping as you work.
- Maintain proper ventilation. While sealing off rooms is essential, don’t overlook ventilation. Open windows or use an exhaust fan to circulate fresh air and reduce your exposure to dust particles. Proper airflow will help create a safer and more comfortable working environment.
Essential Safety Gear And Precautions For Drywall Sanding
- Wear a dust mask or respirator. Drywall dust is made up of fine particles that have the potential to irritate your lungs and respiratory system. To protect yourself, always wear a high-quality dust mask or a respirator designed to filter fine particles effectively.
- Use protective goggles and headgear. Sanding drywall can send dust and debris flying, which can irritate or even injure your eyes. Protective goggles are a must to shield your vision. Additionally, wearing a lightweight cap or hat can help keep dust out of your hair.
- Inspect for exposed screws, nails, or obstacles. Hidden obstructions, such as protruding screws or nails, can damage your sander and ruin the drywall’s finish. Before you begin, carefully inspect the surface and ensure all fasteners are flush or properly recessed to avoid issues.
Expert Tips For Sanding Drywall With Electric Sander
Selecting The Perfect Sanding Grit
Achieving a flawless finish starts with choosing the correct grit. Begin with a medium grit (120-150) to eliminate high spots and dried compounds. Then, transition to a fine grit (180-220) to create a smooth, polished surface that’s ready for the next step.
Maintain A Level Sander Pad
Ensure the sander pad remains flat against the surface at all times to prevent gouges or uneven results. Tilting the pad can leave behind ridges or swirl marks, which are often challenging to fix.
Apply Light, Consistent Pressure
Allow the sander’s motor to handle the work for you. Excessive pressure can easily damage drywall, especially over delicate layers of joint compound.
Sand With Precision And Steady Control
Achieve optimal results by using smooth, circular motions or steady, back-and-forth strokes. This technique ensures even coverage, preventing over-sanding in any one area.
Maintain A Uniform Pace
Move with smooth, even strokes, avoiding abrupt motions or sudden stops that could create unwanted marks or grooves. A steady, sweeping motion ensures a seamless, professional finish.
Sanding Corners And Hard-To-Reach Areas
- Opt for manual sanding tools. When dealing with corners and tight spaces that power sanders can’t reach, manual tools are your best bet. Fine-grit sanding sponges or handheld sanding blocks are perfect for carefully smoothing these challenging spots.
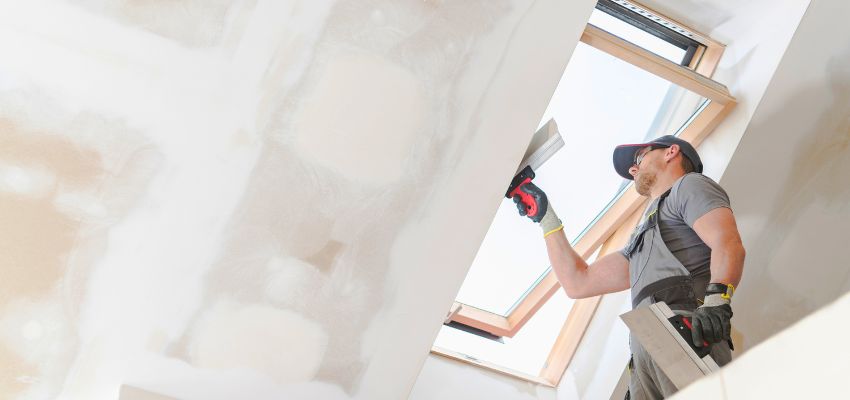
- Blend joints with careful feathering. To create seamless transitions, gently feather the edges where drywall panels meet. This technique ensures a smooth surface, preventing visible lines or uneven textures once the paint is applied.
Post-Sanding Clean-Up And Inspection
- Clean surfaces and remove dust. After sanding, clean the surface by wiping it with a damp cloth to pick up fine dust. Use a vacuum to clear surrounding surfaces and floors, ensuring no residual dust remains.
- Inspect with bright lighting. Use a bright, portable light to scan the walls for imperfections such as ridges or low spots. These flaws will become more visible under direct light. Mark any problem areas with a pencil for easy identification.
- Address imperfections with touch-ups. For any remaining uneven spots, apply a thin layer of joint compound, let it dry completely, and sand again. This additional step will leave you with a smooth, flawless surface ready for painting.
Frequently Asked Questions
What’s the best grit sandpaper for drywall sanding?
For the final coat, sandpaper with a grit between 150 and 220 is ideal. Steer clear of coarse grits (below 100), as they can damage the drywall surface.
Should I use a vacuum attachment with my electric sander?
Yes. A vacuum attachment is highly recommended. It reduces airborne dust, making sanding cleaner, safer, and easier to handle.
How can I prevent swirl marks or damage while sanding drywall?
To avoid swirl marks or damage, keep the sander moving steadily and apply uniform, light pressure. Never press too hard, and ensure the sander pad stays flat against the wall at all times.
Can an electric sander be used for sanding drywall corners?
Electric sanders work well for large, flat surfaces. For corners and angles, use manual tools like sanding sponges or blocks. They offer better precision and control.
How do I know when drywall is smooth enough for painting?
Gently run your hand over the surface and use a bright light to spot any imperfections. When the drywall feels consistently smooth and flaws are minimized, it’s ready for painting.

Achieve Flawless Walls With The Right Tools And Techniques
Mastering the art of sanding drywall with an electric sander can take your home improvement projects to the next level. Proper preparation and safety measures are key. Use expert sanding techniques for a flawless finish. These tips will help you work efficiently and with precision. Follow these steps for smooth, professional-looking walls. You’ll be ready for priming and painting in no time. Happy sanding!
Ready to elevate your drywall projects? With proper prep, the right tools, and simple techniques, you can create smooth, professional walls every time. For more expert advice, tips, and quality woodworking insights, visit Vintage & Specialty Wood and bring your vision to life.
Hire The Timber Experts For Your Next Project
Vintage & Specialty Wood should be your source of the highest quality timbers from around the world. When it comes to fabricating and installing reclaimed wood or specialty wood products in your home, we don’t cut corners. We offer many reclaimed wood and specialty wood products such as Douglas Fir, white oak, and much more. We also offer timber framing and wood flooring services as well. Contact our team today to speak to a timber expert about what Vintage & Specialty Wood can do for you.

This Blog Is Fact Checked
This content has undergone meticulous fact-checking by our team of internal experts. Gain a deeper understanding of the high editorial standards we uphold on our website here.

About The Author
Experience, exploration, and knowledge are the hallmarks of writer Rei Bayucca. Her dedication to crafting articles that both inspire and educate will leave you thinking long after you’ve finished reading.


