How To Restain Wood Furniture: A DIY Guide For A Fresh Look
Published October 9, 2025
Is that old piece of wood furniture dragging down your home’s style? Don’t toss it yet—there’s a better way. Whether it’s a worn heirloom or a thrift store find, learning how to restain wood furniture can turn it into a stunning focal point. Restaining is cost-effective, eco-friendly, and preserves craftsmanship while adding unique character. Ready to give your furniture a new life?
In this article, we’ll walk you through every step on restaining wood furniture—from initial inspection and prep to stripping, staining, and sealing—so you can enjoy professional results, even as a beginner.
Why Restaining Your Wood Furniture Is Worth It
Restaining extends the life of quality pieces, reduces waste, and lets you customize to your style. A new stain can completely transform a table, chair, or dresser for a modern, rustic, or timeless look.
When To Restain, Replace, Or Paint
- Restain when the wood is solid, but the finish is worn or outdated. Staining highlights the natural grain and adds warmth.
- Replace if the piece has significant structural damage or severe rot.
- Paint if the wood is unattractive, badly damaged, or if you prefer a bold, opaque finish.
Getting Started: Planning Your Restain Project
Plan ahead for a smooth project. Assess your furniture and gather supplies first to avoid issues later.
Inspecting The Piece: Damage, Veneer, And Wood Type
First, check your furniture for damage like scratches, dents, or water rings, and repair loose joints. Next, identify if it’s solid wood or veneer—veneer grain doesn’t wrap corners. Veneer can be restained but needs a gentle touch to avoid sanding through.
Choosing Between Restaining, Refinishing, And Restoring
These terms are often used interchangeably, but they have distinct meanings:
- Restaining means applying a new stain after removing the old finish.
- Refinishing involves stripping the old coating, then applying a new one (stain, paint, or sealant).
- Restoring focuses on cleaning and minor repairs while preserving the original finish.
Assembling Your Tools And Materials
Gather your materials before you begin:
- Safety gear: Respiratory mask, goggles, gloves
- Stripping: Chemical stripper, heat gun, or coarse-grit sandpaper
- Sanding: Orbital sander, sanding block, sandpaper (80-220 grit)
- Cleaning: Mild soap, rags, tack cloth, vacuum
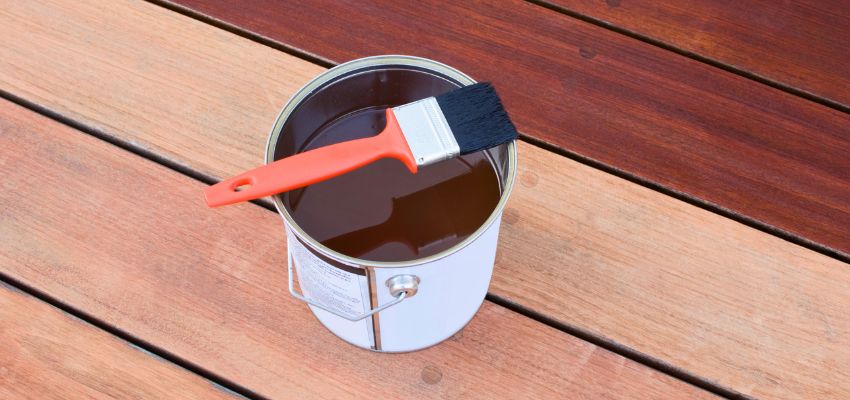
- Staining: Brushes, foam applicators, sprayer, wood stain
- Finishing: Topcoat (a protective clear coating such as polyurethane, wax, oil, or shellac applied over the stain to seal and shield the wood), wood filler (used to fill holes and cracks), screwdrivers, and drop cloths (fabric or plastic sheets that protect the work area).
Preparing The Furniture For Restaining
A clean, well-prepped surface is key to a flawless finish.
- Setting up a safe workspace: Select a well-ventilated, dust-free space, such as a garage or covered porch. Protect the floor with drop cloths and ensure adequate lighting. Always wear safety gear when working with strippers or stains.
- Removing hardware and cleaning: Remove all hardware, labels, and loose parts. Clean the piece thoroughly using mild soap and water or a wood cleaner to remove dirt and oils. Let it dry completely before proceeding.
Stripping The Old Finish
Remove the old finish before applying a new stain.
- Sanding: For thin or worn finishes, use a random orbital sander with 100–120 grit sandpaper on flat surfaces. Apply light pressure to avoid creating dips. The goal now is to remove most of the finish; you’ll smooth and detail-sand later.
- Chemical strippers: Use a chemical stripper for thick finishes or intricate details. Apply evenly, wait as instructed, then scrape with a putty knife. Always wear gloves, goggles, and work in a ventilated area.
- Heat gun method: A heat gun softens varnish or paint for easy removal. Move it constantly to prevent scorching, and avoid using it on veneered pieces, as the heat can weaken the glue.
Smoothing And Prepping The Wood
After stripping, your goal is a smooth, clean surface.
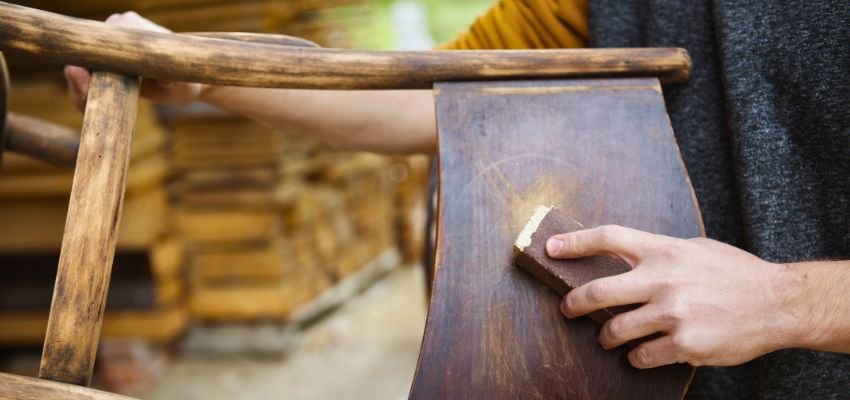
- Progressive sanding: Begin with 120-grit sandpaper (medium-fine sandpaper for smoothing surfaces after initial stripping) to remove residue, then switch to 180–220 grit (fine sandpaper for a smooth finish). Always sand with the grain (parallel to the wood fibers) to prevent scratches.
- Detail sanding and final clean: For edges and carvings, sand by hand. Vacuum and use a tack cloth to remove all dust before staining.
How To Restain Wood Furniture
Once your furniture is prepped, you’re ready for the most transformative step. Knowing how to properly restain wood furniture requires good technique and patience.
Choosing The Right Stain
- Oil-based: Penetrates deeply for rich color, but requires longer drying.
- Water-based: Low odor, fast-drying, and easy to clean.
- Gel stain: Thick consistency provides even color. It works well even on difficult woods. Apply it over existing finishes with light sanding.
When working with reclaimed or specialty wood, like the aged materials from Vintage & Specialty Wood, choose a stain that enhances, not masks, its natural grain and patina. These unique woods tell a story through their texture, so gentle refinishing with rich, warm stains is ideal.
Testing On A Hidden Area
Test the stain on the underside or back panel first. Allow it to dry to see the final color and make adjustments if necessary.
Applying The Stain
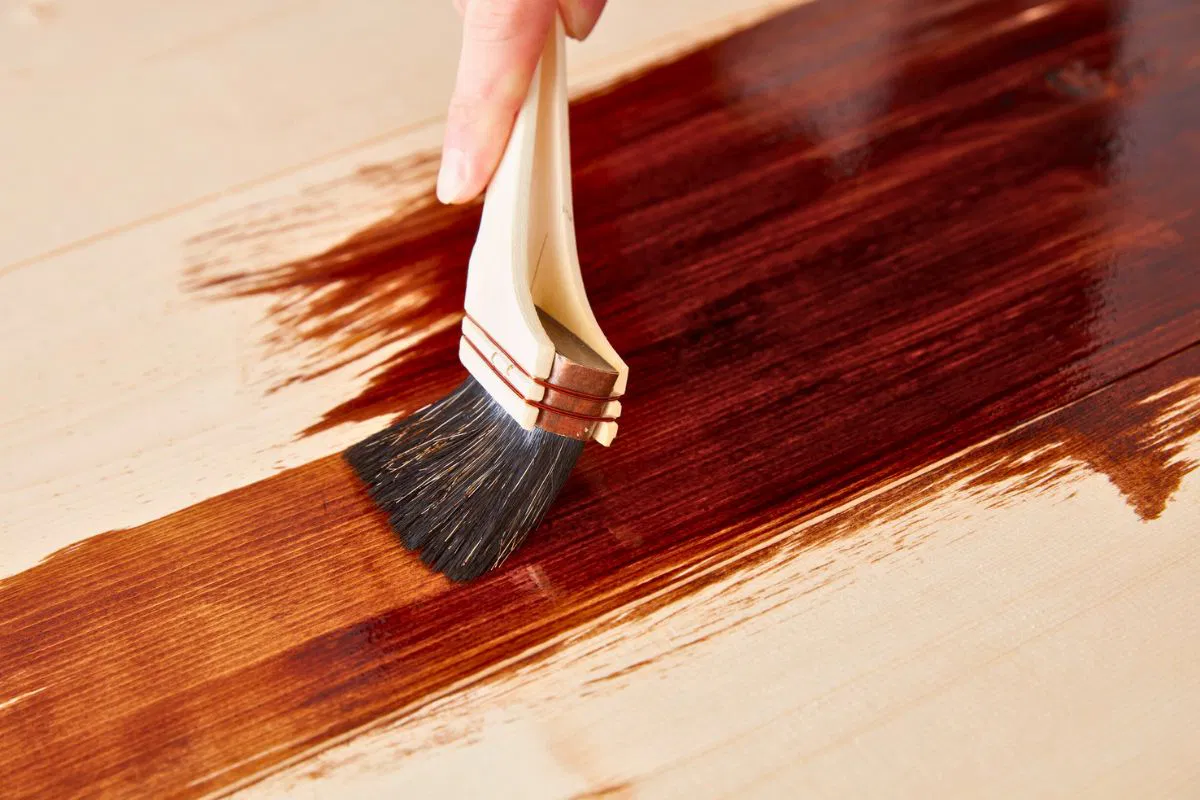
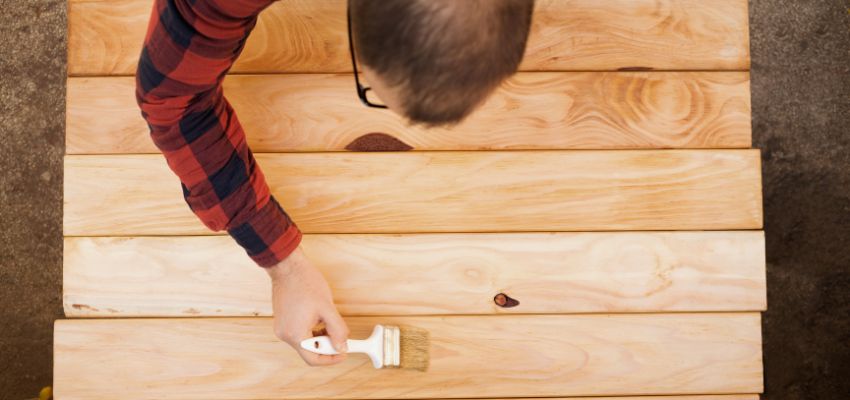
Apply a generous, even coat along the wood grain using a brush or cloth. Allow it to sit for around 5–15 minutes, then wipe off any excess. A longer application time will create a darker tone.
Layering Coats
For a darker shade, add more coats once dry. Always wipe excess and test color depth as you go.
Sealing And Finishing For Durable Results
A topcoat is a clear, protective layer. It guards your stained furniture from moisture, scratches, and daily wear.
Choosing A Topcoat
- Polyurethane: Durable and perfect for tabletops or high-use areas
- Wax: Provides a soft, natural sheen but needs regular reapplication
- Oil Finishes: Penetrates wood for a warm, matte appearance
- Shellac: Quick-drying and glossy, but prone to moisture damage
Application Tips
- Apply several sheer coatings instead of one thick layer.
- Allow each coat to dry completely.
- Lightly sand with fine-grit (320) sandpaper between coats for a smooth finish.
- Wipe with a tack cloth before painting the final coat.
Final Touches
After the topcoat cures (several days to a week), reattach or replace hardware for a refreshed look.
Special Situations And Advanced Tips
How To Restain Outdoor Wood Furniture
Use exterior-grade stain and a spar urethane topcoat with UV and mildew protection for long-lasting results.
How To Restain Wood Furniture Without Sanding
If the surface is in good shape, clean thoroughly, lightly scuff with fine sandpaper, and apply gel stain directly over the existing finish. This works best when going darker.
Common Mistakes To Avoid
- Skipping pre-stain conditioner on blotch-prone woods like pine or maple
- Working against the grain
- Rushing drying times between coats
Frequently Asked Questions
How can I avoid blotchy results when restaining wood furniture?
To prevent a blotchy finish, apply a pre-stain wood conditioner and promptly wipe away any excess stain with an even motion.
How to restain wood furniture darker without stripping?
Apply gel stain or several coats of standard stain until you achieve the desired depth.
How long does it take for the finish to fully cure?
Wait 24–48 hours before light use, and allow 7–30 days to fully cure before adding heavy items.
Can I combine brands or types of stains and finishes?
Avoid combining oil- and water-based products unless specified as compatible by the manufacturer. If uncertain, test on a small, inconspicuous area first.
Crafting The Perfect Roof: Why Pitch Matters More Than You Think
Choosing the right roof pitch is vital for performance, energy efficiency, and balanced design. It ultimately determines how well your roof stands up to the elements, supports specific materials, and creates comfortable spaces below. The right pitch is the key to a successful roofing system.
For strength and beauty that lasts, consider pairing your ideal pitch with reclaimed and specialty timber from Vintage & Specialty Wood—bringing history, durability, and sustainability into every structure.
Hire The Timber Experts For Your Next Project
Vintage & Specialty Wood should be your source of the highest quality timbers from around the world. When it comes to fabricating and installing reclaimed wood or specialty wood products in your home, we don’t cut corners. We offer many reclaimed wood and specialty wood products such as Douglas Fir, white oak, and much more. We also offer timber framing and wood flooring services as well. Contact our team today to speak to a timber expert about what Vintage & Specialty Wood can do for you.

This Blog Is Fact Checked
This content has undergone meticulous fact-checking by our team of internal experts. Gain a deeper understanding of the high editorial standards we uphold on our website here.

About The Author
Experience, exploration, and knowledge are the hallmarks of writer Rei Bayucca. Her dedication to crafting articles that both inspire and educate will leave you thinking long after you’ve finished reading.

