How To Remove Wood Stains: A DIY Guide
Published October 15, 2025
Discovering a stain on your cherished wood furniture can be disheartening—whether it’s a white ring from a hot mug, a dark spot from a spilled drink, or a greasy mark. Many assume these imperfections are permanent, but learning how to remove wood stains effectively can restore your wood’s natural beauty using simple, affordable DIY methods.
In this article, you’ll find quick, safe, and affordable ways to tackle common wood stains—from identifying the type of mark to step-by-step removal using household ingredients.
Understanding Wood Stains
Stains happen when moisture, heat, or other substances penetrate the wood’s finish or the wood itself. The best removal method depends on the type of finish, whether it’s varnish, wax, oil, or veneer.
Common Causes Of Wood Stains
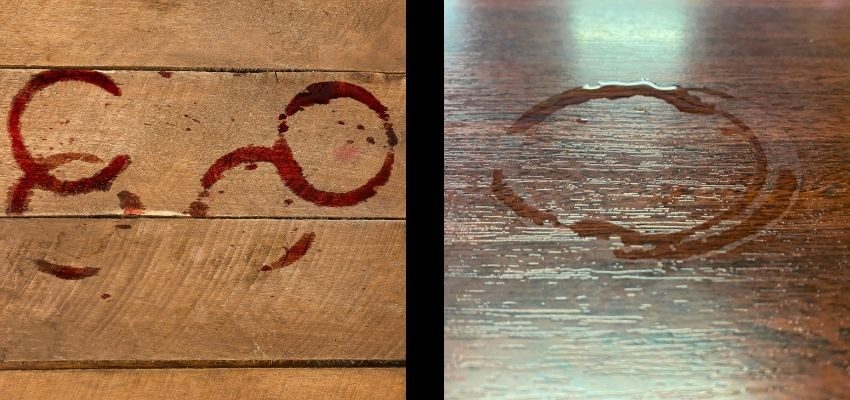
- Water exposure: Water stains are common and often appear as white rings when moisture, like condensation from a glass, gets trapped in a wood finish. Prolonged exposure can cause darker marks, showing the water has reached the wood fibers.
- Heat and humidity: Placing hot dishes on wood or exposing it to steam can create cloudy white stains. This occurs when heat damages the finish, trapping moisture or changing its chemical structure.
- Spilled liquids and chemicals: Wine, alcohol, and certain cleaning products can quickly damage wood finishes, etching, discoloring, or dissolving the protective layer and leaving noticeable marks.
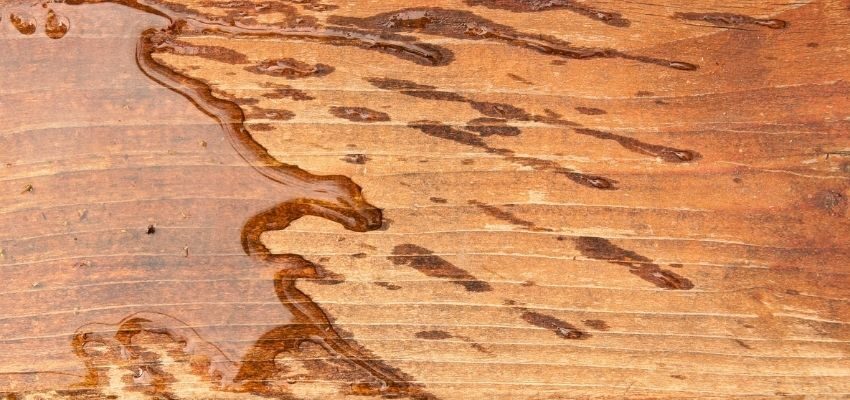
- Prolonged contact with damp objects: Leaving wet items like plant pots, damp cloth, or leaky vases on wood can cause moisture damage. Prolonged dampness allows water to seep into the wood, creating dark, stubborn stains that are difficult to remove.
How To Remove Wood Stains: Step-By-Step DIY Methods
Preparing The Surface
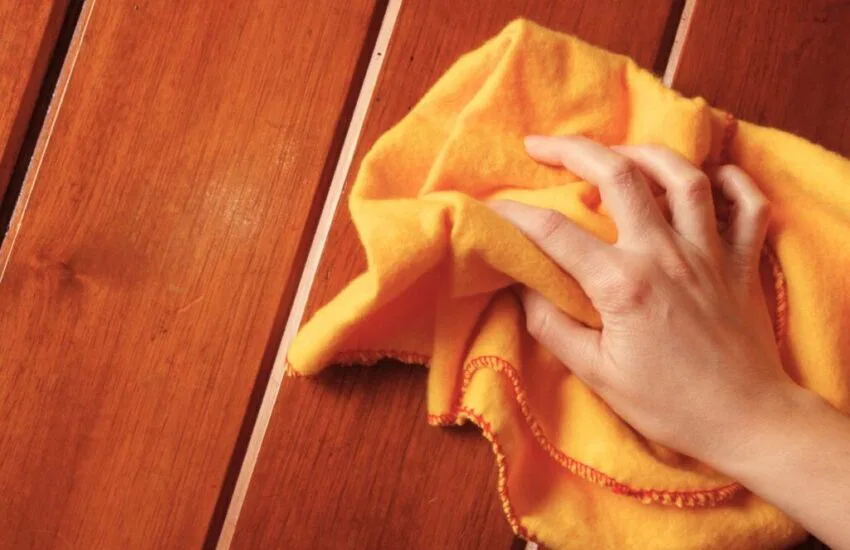
- Use mild soap and water to clean the stained area.
- Dry the area completely before treatment.
- Always test any method on a hidden spot first.
How To Remove Water Stains From Wood
Water stains are either white (from surface moisture) or dark (from deep water damage).
For white water stains:
- Hairdryer method: Apply high heat, moving the dryer constantly to evaporate moisture.
- Baking soda paste: Combine equal parts water and baking soda; gently buff along the grain.
- Vinegar solution: Blend equal parts vinegar and water to remove mineral deposits.
Tip: The baking soda method also works well for heat stains on tabletops.
How To Remove White Water Stains From Wood Veneer
Because veneer is delicate, take extra care.
- Gently apply a small amount of non-gel toothpaste or petroleum jelly to the stain.
- Let it sit (overnight for petroleum jelly), then wipe clean with a damp cloth.
How To Remove Heat Stains From Wood
Heat creates cloudy white rings when moisture gets trapped in the finish.
- Iron Method: Place a clean cotton cloth over the stain and press with a low-heat iron for a few seconds.
- Baking Soda + Toothpaste Paste: Buff lightly along the grain and wipe clean.
Special Care For Wood Table Tops
For dining and coffee tables prone to water rings:
- Use the same baking soda–toothpaste paste described above.
- Buff lightly along the grain until the mark fades.
- Finish with furniture polish or an olive oil and lemon juice mixture to restore shine.
Natural Remedies For Stubborn Stains
When other methods don’t work, try these gentle alternatives before using chemical cleaners:
- Mayonnaise or Petroleum Jelly: Leave on overnight to displace trapped moisture.
- Vinegar and Olive Oil: An equal-parts mixture cleans and conditions the surface.
- Hydrogen Peroxide (3%): For dark stains, apply briefly with caution. Test in an inconspicuous area first.
When To Refinish Or Seek Professional Help
If stubborn stains persist or the wood’s finish shows cracking, peeling, or significant wear, consider refinishing. This involves stripping the old finish, sanding, and applying a new protective coat. For antiques, valuable pieces, or items with sentimental value, hiring a professional furniture restorer is highly recommended to prevent irreversible damage.
Preventing Future Wood Stains
Preventing damage to your wood furniture is always easier than repairing it.
Preventive Habits
- Use Coasters and Trivets: Protect surfaces from heat and moisture.
- Prevent Moisture Damage: Place saucers or mats under vases and potted plants.
- Manage Indoor Humidity: Use humidifiers or dehumidifiers to avoid swelling or cracking.
- Minimize Sunlight Exposure: Preventing damage to your wood furniture is always easier than repairing it.
Maintenance Routine
- Clean Regularly: Dust weekly with a microfiber cloth to prevent scratches.
- Polish occasionally: Use oil-based or wax polishes, avoiding silicone products.
- Use Gentle Cleaners: Stick to wood-safe products or mild soap solutions.
Frequently Asked Questions
What is the best way to remove white stains from wood?
To lift moisture from the finish, try using a hairdryer on low heat or applying a paste made of baking soda and toothpaste.
Can you remove water rings from a wood table without damaging the finish?
Yes, you can. Try applying mayonnaise or petroleum jelly to the stain for a few hours, then wipe it clean. Avoid scrubbing the surface.
How do you get rid of heat marks on a wooden surface?
Press a warm iron over a cloth on the mark for short intervals, checking progress often.
Are household products like baking soda or toothpaste safe for wood?
Yes, but you should use them gently and test them on a small area first. Avoid harsh scrubbing, which can damage the wood’s finish.
Restoring Wood’s Beauty: Mastering How To Remove Wood Stains
Removing stains from wood doesn’t require expensive products or professional help. If you’ve ever wondered how to remove wood stains, the secret often lies in simple ingredients already in your kitchen—baking soda, vinegar, and toothpaste. Act quickly, test first, and work carefully to protect the finish. With consistent care, your furniture will maintain its beauty for years to come.
For new builds or major restorations, quality wood is essential. Vintage & Specialty Wood provides high-quality reclaimed and specialty wood, adding character and history to any project.
Hire The Timber Experts For Your Next Project
Vintage & Specialty Wood should be your source of the highest quality timbers from around the world. When it comes to fabricating and installing reclaimed wood or specialty wood products in your home, we don’t cut corners. We offer many reclaimed wood and specialty wood products such as Douglas Fir, white oak, and much more. We also offer timber framing and wood flooring services as well. Contact our team today to speak to a timber expert about what Vintage & Specialty Wood can do for you.

This Blog Is Fact Checked
This content has undergone meticulous fact-checking by our team of internal experts. Gain a deeper understanding of the high editorial standards we uphold on our website here.

About The Author
Experience, exploration, and knowledge are the hallmarks of writer Rei Bayucca. Her dedication to crafting articles that both inspire and educate will leave you thinking long after you’ve finished reading.

