Cherry Wood 101: Color, Grain & Lasting Appeal
Published June 4, 2025
Are you looking for a hardwood that combines elegance, versatility, and durability? Cherry wood stands out as a timeless favorite among artisans, furniture makers, and homeowners alike. Its rich, warm color and smooth texture make it a go-to choice—but its lasting durability ensures your investment stands the test of time. Don’t settle for ordinary when you can have a material that truly elevates your space.
In this article, we’ll explore everything you need to know about cherry wood. We’ll examine its unique qualities and explore why it’s a popular choice for woodworking projects.
What Is Cherry Wood?
Cherry wood comes from the American Black Cherry tree (Prunus serotina). This species is native to North America and thrives in states like Pennsylvania, Ohio, and New York. Known for its beauty and durability, cherry wood is a top choice for furniture. It offers elegance and strength and is easy to work with.
Botanical Origins And Tree Species
The American Black Cherry tree, also known as the black cherry, is a deciduous species. It’s known for its size and adaptability. This tree usually grows 50-80 feet tall. In ideal conditions, it can reach up to 100 feet.
As the tree grows, its bark changes noticeably. It starts smooth and has a greenish-brown hue with horizontal lenticels. Over time, it becomes rough, textured, and flaky.
The tree produces small, tart cherries. Birds love these, but they’re too bitter for most people. Black cherry trees thrive in sustainably managed forests. They’re common in the Northeast and Midwest regions of the United States.
American Cherry Vs. Other Cherry Varieties
The term “cherry wood” is often used broadly, but American cherry stands apart from species like European cherry. The American Black Cherry tree is known for its smooth grain and its ability to develop a rich patina with age. Its reddish hue and timeless elegance make it popular with woodworkers and homeowners.
Popular Applications Of Cherry Wood
Cherry wood is a favorite in furniture design, recognized for its timeless beauty and remarkable versatility. Here are some of its most common uses:
- Fine furniture: From dining tables to bedroom sets, cherry wood brings warmth, sophistication, and a touch of elegance to any room.
- Cabinetry: With its rich color and smooth, even grain, cherry is a top choice for crafting stunning kitchen and bathroom cabinets.
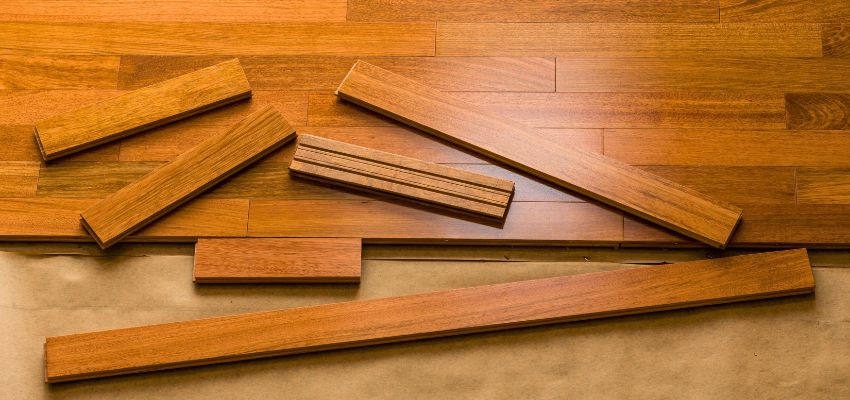
- Flooring: Cherry wood is a durable option with warm tones. It creates elegant and long-lasting hardwood floors.
- Decorative Pieces: Cherry wood has a natural charm. It’s perfect for crafting cutting boards, wooden spoons, and bowls. It combines functionality with beauty.
Cherry wood is highly valued for its excellent workability. Artisans and professional woodworkers use it to create custom, high-quality designs.
If you’re looking for reclaimed wood to pair perfectly with cherry wood for your next project, check out Vintage & Specialty Wood—a trusted source for authentic, sustainably sourced materials with unmatched character.
Cherry Wood Color: From Pale Pink To Rich Reddish-Brown
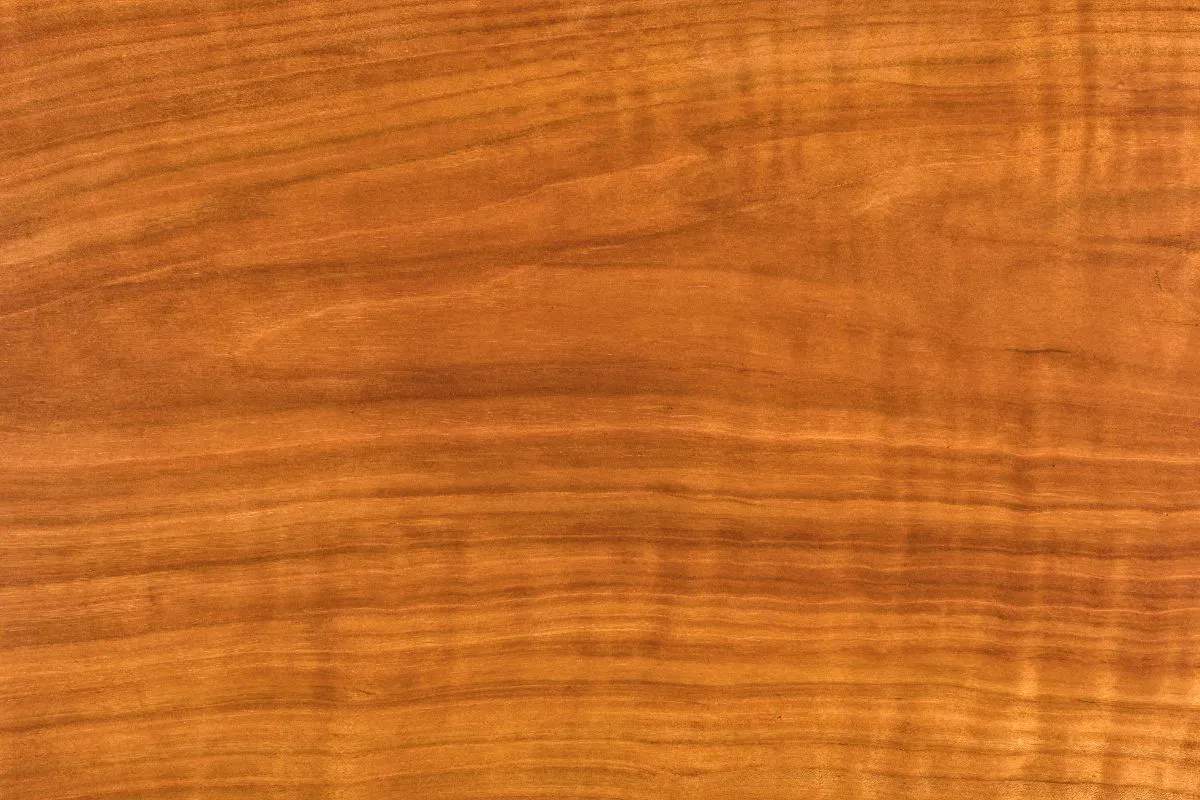
Among the defining features of cherry wood is its striking color, which evolves. If you’re wondering what color is cherry wood, it starts as a light pinkish-brown and deepens into a rich reddish-brown with age, creating a natural and enchanting transformation.
Natural Color Characteristics
Cherry wood undergoes a striking transformation over time. When freshly cut, it has a light pink or golden hue. With exposure to light and oxygen, the color deepens. Over time, it develops the rich reddish-brown tone seen in aged cherry furniture.
This gradual color change, known as “ripening,” is a unique characteristic of cherry wood. Unlike other hardwoods, cherry wood darkens more dramatically over time. This transformation enhances its natural beauty and timeless appeal.
How Cherry Wood Ages Over Time
The aging of cherry wood depends heavily on its environment. In the first six months, it changes the most. It gradually develops a rich, reddish-brown color. This darkening can continue for years, especially with sunlight exposure.
To enhance the aging process, place cherry wood furniture in a room with natural sunlight or near a window. Sunlight helps the wood develop a deeper color faster. Over time, it gains a stunning patina. This creates a warm, glowing finish that highlights its timeless beauty.
How To Enhance And Preserve Cherry Wood’s Rich Color
Follow these tips to bring out the full beauty of your cherry wood and keep it looking its best:
- Embrace natural light: Place your furniture in a spot with consistent, indirect sunlight to help the wood develop a rich, even tone as it matures.
- Apply a protective finish: Use a high-quality finish to safeguard the wood from light damage while enhancing its natural luster. For added peace of mind, opt for food-safe, organic finishes if needed.
- Stick to gentle cleaners: Keep the wood’s color and finish vibrant. Use mild, non-abrasive cleaners made for wood surfaces.
By following these steps, you can ensure that your cherry wood remains timeless and retains its full character.
Grain Patterns And Texture Of Cherry Wood
The wood grain and texture contribute significantly to its popularity in furniture making. The consistent look of cherry wood grain and its smooth finish make it a dream to work with.
Recognizing Cherry Wood By Its Grain
Cherry wood is known for its fine, straight, and closed-grain pattern. It has a smooth texture, perfect for elegant furniture. Natural imperfections, like mineral streaks or gum pockets, add character and charm to its beauty.
Exceptional Finish And Workability
Cherry wood is known for its excellent workability. With a Janka hardness of 995, it’s softer than oak or maple. This makes it easier to cut, plane, sand, and glue. Its smooth, straight grain absorbs stains and finishes beautifully. The result is a luxurious, refined surface.
Comparing Cherry Wood To Other Hardwoods
Cherry wood’s subtle and understated grain gives it a unique elegance when compared to other popular hardwoods:
- Oak: Known for its bold grain with prominent rings and swirls, oak has a more rugged appearance that contrasts with cherry’s refined smoothness.
- Maple: While maple shares a similarly smooth texture, it lacks cherry’s rich, warm tones and its dramatic patina that deepens with age.
Cherry wood is timeless and versatile. It’s a top choice for furniture and woodworking. It combines beauty, functionality, and sophistication.
Why Cherry Wood Stands The Test Of Time
Cherry wood’s appeal lies in its beauty, durability, and eco-friendly qualities, making it a top choice for furniture and cabinetry.
- Durability and Strength. Cherry wood is a softer hardwood but strong and resilient. It resists scratches and dents better than pine. This makes it great for daily use. With proper care, cherry wood furniture can last for generations. It keeps its charm and functionality over time.
- Stability and Resistance to Warping. Cherry wood has a fine grain and uniform density. This gives it excellent stability. It resists warping, twisting, and cupping. This makes it ideal for durable, precise furniture such as cabinets and tables.
- Sustainability and Eco-Friendly Appeal. Cherry wood is both aesthetically pleasing and environmentally friendly. American Black Cherry trees are abundant, and using locally sourced cherry wood has less environmental impact than importing exotic species. Choosing cherry wood furniture supports sustainable forestry and the use of renewable domestic materials.
Frequently Asked Questions
Is cherry wood a good option for furniture?
Absolutely. Cherry wood combines beauty, durability, and ease of use, making it an excellent option for furniture. Its warm reddish hues and graceful aging process lend timeless charm to any piece.
Does cherry wood darken over time?
Yes, cherry wood naturally darkens as it ages, transitioning from a light pinkish tone to a deep, rich reddish-brown patina. This process is accelerated with exposure to natural light, enhancing its character over time.
How does cherry wood compare to oak or maple?
Oak has a bold, pronounced grain. Maple offers a smooth, light finish. Cherry stands out with its warm tone and subtle grain. It ages beautifully, exuding a rich patina over time with a fine texture that makes it perfect for elegant, classic designs.
Can cherry wood be stained or painted?
Cherry wood absorbs stains and finishes nicely. Many artisans prefer clear finishes to highlight the natural grain and color of their work. Painting is less popular as it hides the cherry’s unique look.
Is cherry wood expensive?
Cherry wood is more expensive than common hardwoods like oak but is still more affordable than exotic woods such as mahogany. Its stunning appearance, durability, and timeless appeal make it a worthwhile investment.
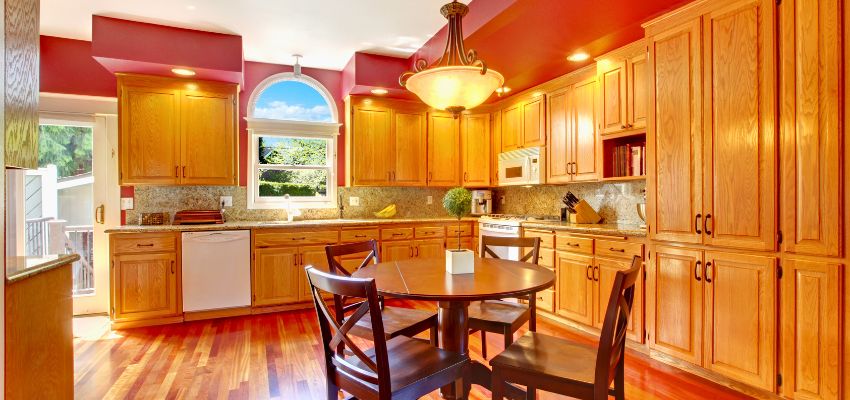
Elevate Your Space With The Timeless Appeal Of Cherry Wood
Cherry wood is perfect for those who value beauty, warmth, and durability. Its rich hues and unique grain patterns stand out. Over time, it develops a stunning patina. This makes it ideal for heirloom dining tables or elegant accent pieces. With proper care, cherry wood furniture lasts for generations. It adds timeless charm to any home.
If you’re picking hardwood for your project, try cherry wood. Its timeless look, eco-friendly sourcing, and easy workability make it a favorite for furniture. With its natural reddish tones and sleek finish, cherry wood is a classic and durable choice.
Are you looking for reclaimed wood to pair with cherry wood? Explore premium reclaimed wood options at Vintage & Specialty Wood—where history meets craftsmanship.
Hire The Timber Experts For Your Next Project
Vintage & Specialty Wood should be your source of the highest quality timbers from around the world. When it comes to fabricating and installing reclaimed wood or specialty wood products in your home, we don’t cut corners. We offer many reclaimed wood and specialty wood products such as Douglas Fir, white oak, and much more. We also offer timber framing and wood flooring services as well. Contact our team today to speak to a timber expert about what Vintage & Specialty Wood can do for you.

This Blog Is Fact Checked
This content has undergone meticulous fact-checking by our team of internal experts. Gain a deeper understanding of the high editorial standards we uphold on our website here.

About The Author
Experience, exploration, and knowledge are the hallmarks of writer Rei Bayucca. Her dedication to crafting articles that both inspire and educate will leave you thinking long after you’ve finished reading.

