Guide To Installing Freestanding Wood Stove In A Fireplace
Published May 21, 2025
Are you frustrated with escalating energy bills and an uninspiring living space? Installing a freestanding wood stove in a fireplace could be the perfect solution. These stoves add rustic charm and unmatched efficiency. They help you save on energy costs and keep your home cozy. They’re eco-friendly and reduce your carbon footprint. Plus, they turn your fireplace into a stunning focal point. Ready to upgrade your home’s warmth and ambiance?
In this article, we will walk you through installing a freestanding wood stove in a fireplace. We will also discuss safety tips, tools, and materials for a safe and successful setup.
Why Choose A Freestanding Wood Stove?
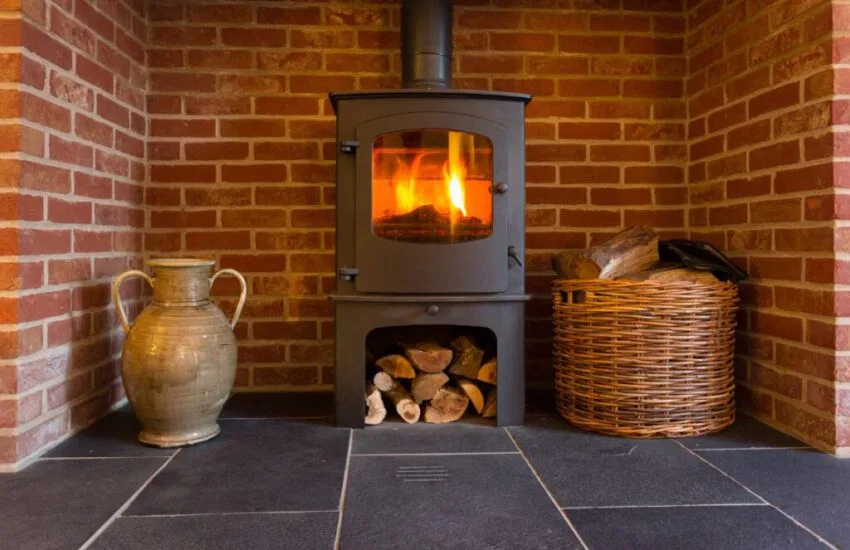
Freestanding wood stoves are a highly efficient alternative to traditional built-in fireplaces. They are designed to distribute warmth evenly in all directions and heat larger areas far more effectively. Unlike open fireplaces, they don’t lose as much heat through the chimney. Instead, they channel heat directly into your home. This means less wasted fuel, lower energy costs, and a cozier space.
Efficiency, Heat Output, And Timeless Style
Modern wood stoves boast efficiency rates of up to 90%, delivering steady, reliable heating while using minimal wood. With adjustable controls, you can easily fine-tune the heat output to accommodate the size of your room. Freestanding wood stoves are more than functional. They add warmth and charm, serving as practical heaters and eye-catching focal points.
Ideal Homes For Installation
Freestanding wood stoves are versatile and fit various settings. They work in homes, cabins, and compact spaces. Good ventilation is vital for safety and efficiency. Homes with flues or chimneys make installation easier. Retrofitting is possible for setups without these features.
Planning The Installation
Installing a wood stove is an excellent way to enhance your home’s warmth and energy efficiency. Proper planning ensures safety and compliance with local regulations. Here are the key steps for a successful and secure installation.
Understand Local Building Codes And Permits
Before starting, familiarize yourself with the building codes in your area. Many areas require permits for wood stove installations, which ensure safety standards are met. Look into rules on clearance distances, venting, and restrictions. This is especially important if you live in a multifamily home.
Choose The Ideal Location
Position your wood stove centrally to maximize heat distribution throughout your home. Keep it away from combustible materials, furniture, and high-traffic areas. Placing it near an external wall or a chimney can simplify venting and installation.
Ensure Proper Clearance And Ventilation
Maintaining adequate clearance from combustible surfaces is critical for safety. General recommendations include:
- 36 inches of clearance between radiant stoves and unprotected walls.
- 18 inches of space between stovepipes and combustible materials.
For small spaces, use heat shields. They create an air gap between the stove and the walls. This can reduce clearance requirements by up to two-thirds. Always check local codes and shield specifications.
Proper ventilation is equally important. Use a chimney, stovepipe, or flue to channel smoke and gases out of your home effectively. This ensures safe operation and maintains air quality.
Tools And Materials You’ll Need
Installing a wood stove can be a rewarding DIY project, but you’ll need the right tools and materials for a safe setup. From stove pipes to protective gear and accessories, here’s what you need to start.
Key Components For A Safe Installation
To ensure a secure and functional setup, make sure you have these essential items on hand:
- Stove Pipe: Connects the stove to the chimney or flue for proper ventilation.
- Floor Protection: Use a hearth pad or non-combustible floor covering. It should extend 16–18 inches beyond the stove on all sides. This protects against stray embers.
- Heat Shields: These reduce the clearance needed between the stove and walls. They ensure safety in smaller spaces.
Must-Have Tools For Your Diy Project
Equip yourself with these tools to streamline the installation process:
- Power drill
- Level
- Tape measure
- Reciprocating saw
- Chimney brush
- High-temperature silicone or other non-combustible sealing materials
Optional Accessories For Enhanced Efficiency
Take your wood stove experience to the next level by adding these helpful accessories:
- Thermometers: Monitor stove temperature for optimal performance.
- Ash Pans: Simplify cleaning and maintenance.
- Wood Storage Racks: Keep firewood neatly organized and easily accessible.
With the proper preparation and tools, installing a wood stove can be a safe, enjoyable project that elevates your home’s warmth and charm.
Step-By-Step Guide To Installing A Freestanding Wood Stove
Step 1: Prepare The Area And Flooring
Choose a well-ventilated location that meets clearance requirements. As required by local codes, use a hearth pad at least two inches thick and extending beyond the stove to protect combustible floors.
For an authentic rustic finish, consider framing the hearth pad or surrounding area with reclaimed wood used decoratively at a safe distance from the stove from Vintage & Specialty Wood, offering both style and sustainability.
Step 2: Install The Hearth Pad And Wall Shield
Install a heat-resistant wall shield if the stove is near a combustible wall. Leave an air gap behind it for ventilation and to prevent heat transfer.
Step 3: Set Up The Chimney Or Flue System
For homes with existing chimneys, inspect and clean them thoroughly to remove creosote buildup. If installing a new flue, carefully cut an opening in the ceiling or wall to align with the stove’s venting output.
For high-temperature ceiling vents, use an insulated, UL 103 HT-rated Class-A chimney pipe, which can withstand temperatures up to 2100°F. Follow the manufacturer’s instructions to connect the pipe sections securely, ensuring a safe, leak-free system.
Step 4: Position And Secure The Stove
Place the stove carefully on the prepared hearth pad, ensuring it sits level. Use a level tool to confirm even placement and secure the stove according to the manufacturer’s guidelines.
Step 5: Connect The Stove Pipe And Vent
Attach the stovepipe to the stove with the crimped end facing down. For multiple sections, fasten them with screws. Seal the joints with high-temperature silicone to prevent smoke leaks.
Step 6: Test For Draft And Conduct Safety Checks
Light a small fire to test the stove’s draft and ensure the smoke is vented adequately through the chimney. Check for leaks and confirm that all clearances and safety requirements have been met before using the stove regularly.
By following these steps, you can enjoy the warmth and charm of your wood stove safely and efficiently.
Ventilation Methods For Freestanding Wood Stove Installation
Proper ventilation is crucial for safety and efficiency when installing a freestanding wood stove. Depending on your setup and space, there are three main venting options. Each method safely directs smoke and gases outside while optimizing heat output.
Through-The-Wall Venting
Through-the-wall venting runs the stove pipe horizontally through an exterior wall, ideal for homes without a chimney. This can be done with a factory-built Class-A chimney system or a budget-friendly vertical pipe chimney. If your home has a masonry chimney, you may be able to connect to it for a simpler solution.
Chimney-Above (Vertical Venting Within The Fireplace)
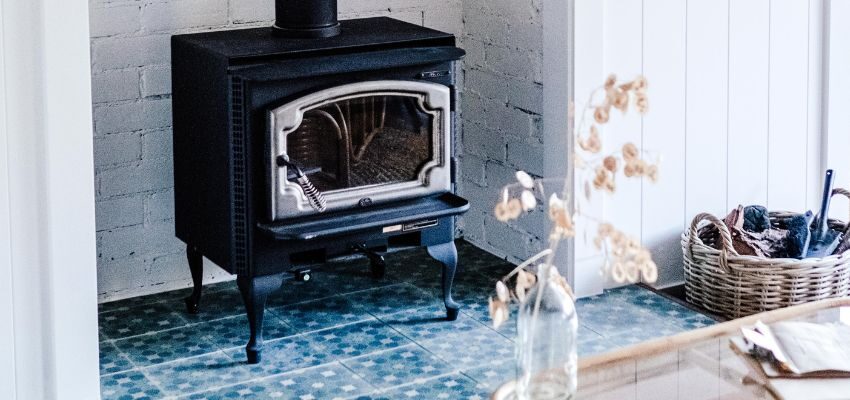
This popular approach places a freestanding wood stove inside an existing fireplace, with its vent pipe connected to the chimney. It’s an efficient, space-saving solution that uses your fireplace’s structure while adding rustic charm and functionality to your space.
Rear-Vented Installation
A rear-vented setup has the stove’s flue exiting through the back, connecting to a chimney or fireplace opening behind it. This setup works well for homes with sealed-off fireplaces and functional chimneys, offering a space-efficient solution while meeting ventilation needs.
Frequently Asked Questions
Can you install a freestanding wood stove inside an existing fireplace?
Absolutely. A freestanding wood stove can be installed within a fireplace, creating a seamless hybrid setup. This configuration simplifies the venting process by utilizing the existing chimney.
What modifications are required for fireplace installations?
To prepare a fireplace for a freestanding stove, a stainless steel chimney liner rated for wood-burning appliances must be installed to ensure proper drafting and safe operation. Additionally, the fireplace opening and surrounding areas may require insulation and sealing to comply with safety regulations.
Do you need a chimney liner or flue adapter?
Yes. A chimney liner is essential for efficient drafting while containing heat and smoke. Depending on the stove, a flue adapter may also be necessary to connect it to the liner securely.
Safety Tips and Maintenance Best Practices
Ensuring Code-Compliant Installations
Follow the manufacturer’s instructions to keep your installation up to code. Always adhere to local building regulations. Schedule regular inspections with certified professionals to ensure compliance and keep your system safe and efficient.
Reducing Creosote Buildup And Preventing Chimney Fires
Creosote, a highly combustible byproduct of wood burning, is a significant fire risk. Minimize buildup by burning seasoned hardwoods and cleaning your chimney regularly with a wire brush. Routine maintenance is key to reducing hazards and keeping your system safe.
Seasonal Maintenance Checklist
Stay ahead of potential issues with this essential checklist:
- Conduct an annual inspection of stovepipes and chimneys for blockages or obstructions.
- Look for any cracks or leaks in the stove or chimney liner and address them promptly.
- Test smoke alarms to ensure they’re functional and place a fire extinguisher within easy reach.
- Install carbon monoxide detectors near the stove and sleeping areas to ensure safety and protection.
- Replace worn or damaged gaskets and seals to maintain a secure and efficient setup.
By consistently following these tips and performing regular maintenance, you can achieve peace of mind and create a safer home environment.
Is A Freestanding Wood Stove Right For You?
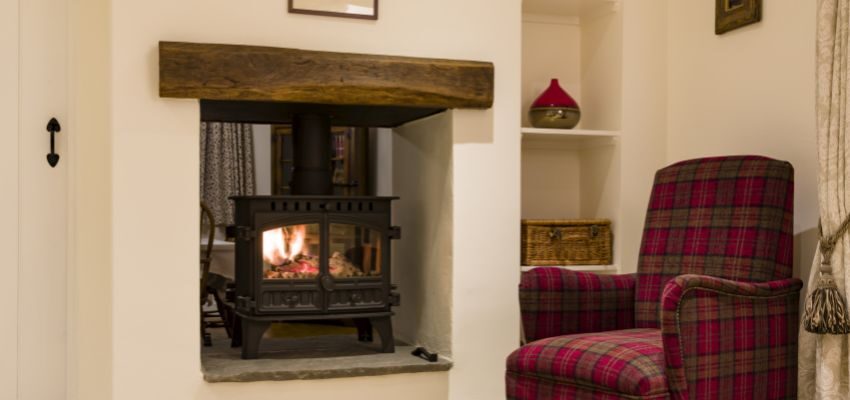
Freestanding wood stoves are efficient, sustainable, and stylish. They can minimize energy costs and reduce your carbon footprint. They also add cozy charm to any home. Are you thinking of installing a freestanding wood stove in a fireplace? It’s a smart way to upgrade your hearth while boosting heat output. Proper planning and safety measures make this installation an excellent investment for warmth and ambiance.
Reclaimed wood mantels impart warmth and charm to your home. Explore rustic finishes and premium decorative wood. Visit Vintage & Specialty Wood for everything you need to transform your fireplace.
Hire The Timber Experts For Your Next Project
Vintage & Specialty Wood should be your source of the highest quality timbers from around the world. When it comes to fabricating and installing reclaimed wood or specialty wood products in your home, we don’t cut corners. We offer many reclaimed wood and specialty wood products such as Douglas Fir, white oak, and much more. We also offer timber framing and wood flooring services as well. Contact our team today to speak to a timber expert about what Vintage & Specialty Wood can do for you.

This Blog Is Fact Checked
This content has undergone meticulous fact-checking by our team of internal experts. Gain a deeper understanding of the high editorial standards we uphold on our website here.

About The Author
Experience, exploration, and knowledge are the hallmarks of writer Rei Bayucca. Her dedication to crafting articles that both inspire and educate will leave you thinking long after you’ve finished reading.

