Get Stunning Floors: How To Paint Wood Floors Like A Pro
Published October 29, 2025
Scuffed, outdated floors diminishing your home’s appeal? Good news: you don’t need a fortune or major demolition to make a big impact. Sometimes, the perfect transformation is right under your feet. Learning how to paint wood floors is an affordable, stylish way to refresh your space, hide imperfections, and make any room truly your own. Whether you want bold colors or a subtle finish, this DIY project can transform old floors and elevate your home’s look.
In this article, we’ll walk you through every step of painting wood floors, from choosing the right materials to applying the final protective coat. You’ll learn essential prep work, painting techniques, and maintenance tips to ensure lasting results. Get ready to transform your space and paint your wood floors like a pro.
Why Paint Wood Floors? A Practical And Stylish Upgrade
Painting hardwood floors offers a creative way to update your home without the expense or mess of refinishing or replacing.
The Allure Of Painted Floors In Modern Homes
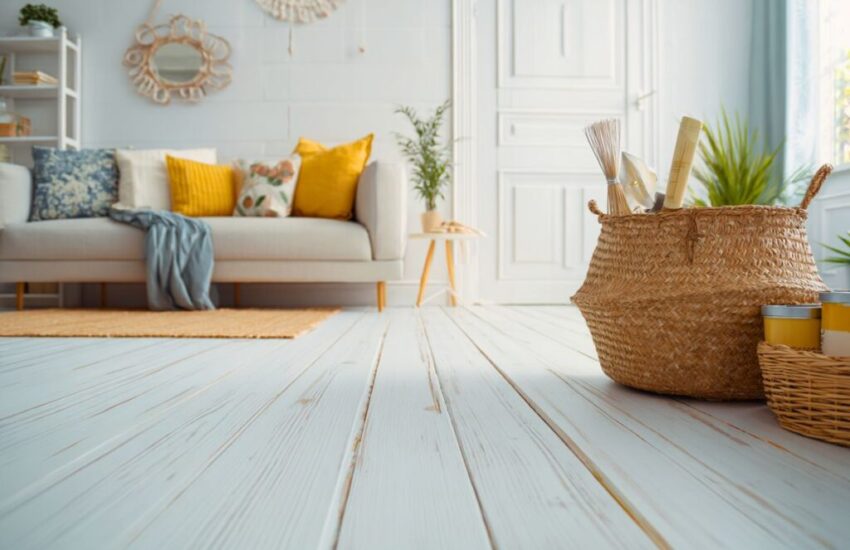
Painted floors suit any style, brightening small rooms with light hues or creating contrast with dark tones. They offer a clean base to showcase your furniture and decor.
The Benefits Of Painting Wood Floors Over Refinishing
Painting suits worn or thin floors that can’t be sanded again. It’s more affordable and less work than refinishing, and it easily hides stains and scratches for a fresh look.
Best Places For Painted Floors—Kitchens, Hallways, And More
Painted floors work in any room. Their durable, easy-clean finish is ideal for kitchens and hallways. Bedrooms, living rooms, and laundry areas also benefit from this update.
Preparing To Paint Wood Floors
Having the right tools and setup is essential for a smooth, durable finish.
Tools And Materials Checklist
- All-purpose cleaner and rags
- Wood filler or putty
- 100-grit sandpaper or power sander
- High-quality, stain-blocking primer
- Porch and floor paint or durable latex paint
- Paint brushes and low-nap rollers
- Paint trays
- Painter’s tape
- Clear polyurethane topcoat or sealer
Choosing The Right Paint And Primer
Choose a high-adhesion, stain-blocking primer to help paint stick and stop stains. Use floor-specific paint, like porch and floor enamel, for scuff and foot traffic resistance. Standard latex paint works short-term but needs several sealer coats for protection.
Safety Gear And Ventilation
Use a dust mask, gloves, and safety goggles. Keep windows open and use fans for ventilation and quicker drying.
Steps On How To Paint Wood Floors Like A Pro
Achieve a flawless, long-lasting result with this step-by-step guide on how to paint a wood floor.
Step 1 — Prep The Surface Thoroughly
Clean the floor with an all-purpose cleaner to remove dirt and grease. Fill gaps and scratches with wood filler, let dry, and scrape away loose paint for a smooth base.
Step 2 — Sand And Smooth The Floor
Lightly sand the floor with 100-grit sandpaper to scuff the surface, which helps the primer and paint adhere. Vacuum the dust, then wipe the floor with a damp cloth.
Step 3 — Apply A Quality Primer
Priming ensures better paint adhesion and even color. Use a roller for large areas and a brush for edges. Apply one to two coats of a stain-blocking primer, allowing each coat to dry thoroughly. For added durability, consider tinting the primer to match your paint color.
Step 4 — Paint The Wood Floor
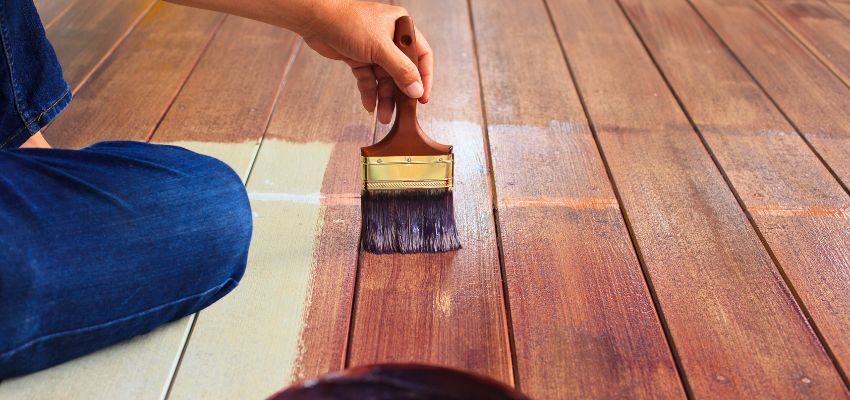
Apply floor paint in thin, even coats with a brush and low-nap roller, following the wood grain. Begin on the farthest corner and work toward the exit.
Step 5 — Add A Second Coat For Durability
Most floors require two coats for full coverage and durability. Ensure the first coat of paint is fully dry before applying the second. Darker colors may need additional drying time.
Step 6 — Seal For Protection And Shine
Once the paint dries, apply a clear, water-based polyurethane sealer. Use a clean roller to apply two to three thin coats, allowing each to dry as directed. This topcoat adds durability, resisting scratches and scuffs.
Step 7 — Allow Proper Drying And Curing Time
Even after the floor feels dry, the paint and sealer still need several days to a week to cure fully. Wait until the surface has cured before walking on it or moving furniture back in to avoid smudges and marks.
Maintaining Your Painted Hardwood Floors
With proper care, painting hardwood floors can yield stunning, long-term results.
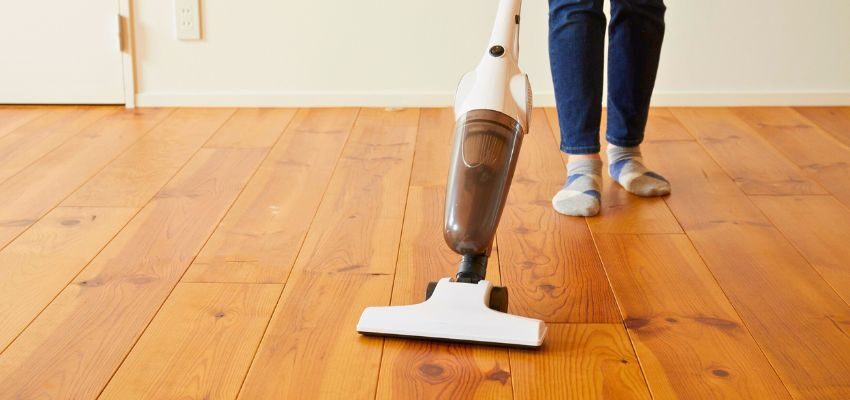
- Sweep or vacuum with a soft brush or hard-floor attachment. Mop with a mild, pH-neutral cleaner. Avoid harsh chemicals or abrasive tools.
- Keep leftover paint and sealer for repairs. Lightly sand damaged spots, touch up with paint, and reseal once dry.
- Use rugs and felt pads to prevent scratches. Place doormats at entries to trap dirt and reduce wear.
Common Mistakes To Avoid When Painting Wood Floors
Avoid these pitfalls to ensure your project lasts beautifully.
- Skipping prep or primer: Rushing preparation leads to poor adhesion and peeling paint. Always clean, sand, and prime correctly.
- Using the wrong paint: Wall paint isn’t designed for foot traffic. Always use floor-grade paint or sealers made for hardwood floors.
- Ignoring drying and curing times: Moving furniture prematurely can smudge or dent the fresh paint. Allow floors to fully cure before use.
Frequently Asked Questions
Can you paint hardwood floors without sanding?
While skipping this step is tempting, sanding is crucial for ensuring the primer and paint bond properly. Without it, your new finish could peel prematurely.
What paint is best for wood floors?
Porch and floor enamel is recommended due to its durability and design for heavy use. Latex versions dry faster, while oil-based options offer superior hardness but take longer to cure.
How long do painted floors last?
When prepped and sealed correctly, painted wood floors can last for years. Their durability depends on product quality and maintenance.
Is painting wood floors cheaper than refinishing?
Yes. Paint, primer, and sealer cost significantly less than refinishing or replacing floors.
How can I fix peeling or chipping paint on wood floors?
To fix peeling or chipping paint, scrape off any loose flakes, sand the area until it’s smooth, and clean it. Then, apply primer, repaint the area, and add a sealant to blend in the repair.
Bring New Life To Your Home—One Painted Floor At A Time
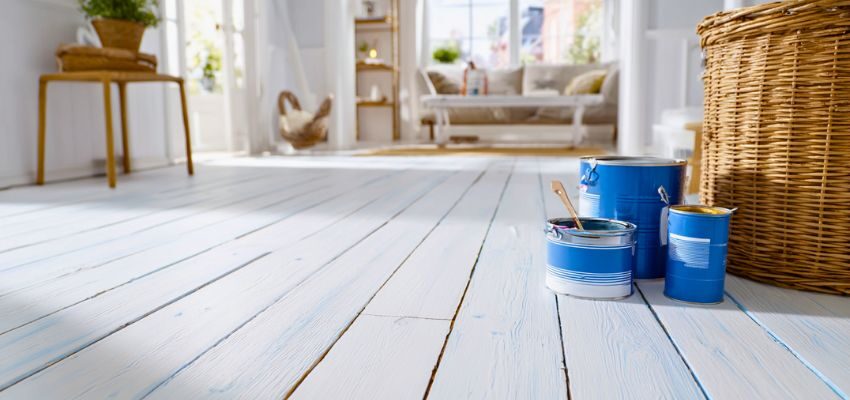
Painting wood floors is an affordable DIY project that can transform your home while giving old floors a fresh look. Learning how to paint wood floors involves a few key steps: cleaning, sanding, priming, painting, and sealing, with proper drying time for professional results. With the right prep and materials, you can revitalize your interiors and take pride in your work.
Considering natural wood for a future renovation? Painting is a great refresh, but reclaimed or specialty wood offers timeless beauty. Explore sustainable materials from Vintage & Specialty Wood to add warmth and history to your next design.
Hire The Timber Experts For Your Next Project
Vintage & Specialty Wood should be your source of the highest quality timbers from around the world. When it comes to fabricating and installing reclaimed wood or specialty wood products in your home, we don’t cut corners. We offer many reclaimed wood and specialty wood products such as Douglas Fir, white oak, and much more. We also offer timber framing and wood flooring services as well. Contact our team today to speak to a timber expert about what Vintage & Specialty Wood can do for you.

This Blog Is Fact Checked
This content has undergone meticulous fact-checking by our team of internal experts. Gain a deeper understanding of the high editorial standards we uphold on our website here.

About The Author
Experience, exploration, and knowledge are the hallmarks of writer Rei Bayucca. Her dedication to crafting articles that both inspire and educate will leave you thinking long after you’ve finished reading.

